Monday, 1 December 2014

Oyster Stamps Craft Retreat Weekend

I have returned from a weekend away at the Oyster Stamps Craft Retreat. Two days of workshops at The Hellidon Lakes Hotel in Daventry with excellent projects demos and advice from Martine, Hellen and Eileen. I have completed most of my projects, feeling pleased with myself for having done that!

The workshop with Hellen Pearce taught us colouring techniques and stamping. Details of the products used and Hellen's examples can be found on her blog : elliescupboard.blogspot.co.uk

Key point from this workshop that I have taken away with me, other than the Promarker colouring technique, is to not always use the whole stamp on a project. Partial images look good in these panel layouts. I chose the traditional red and green colours for my project but of course you could use anything.

I really should put a present in that bag and give it to somebody but .... I think I will keep it :)


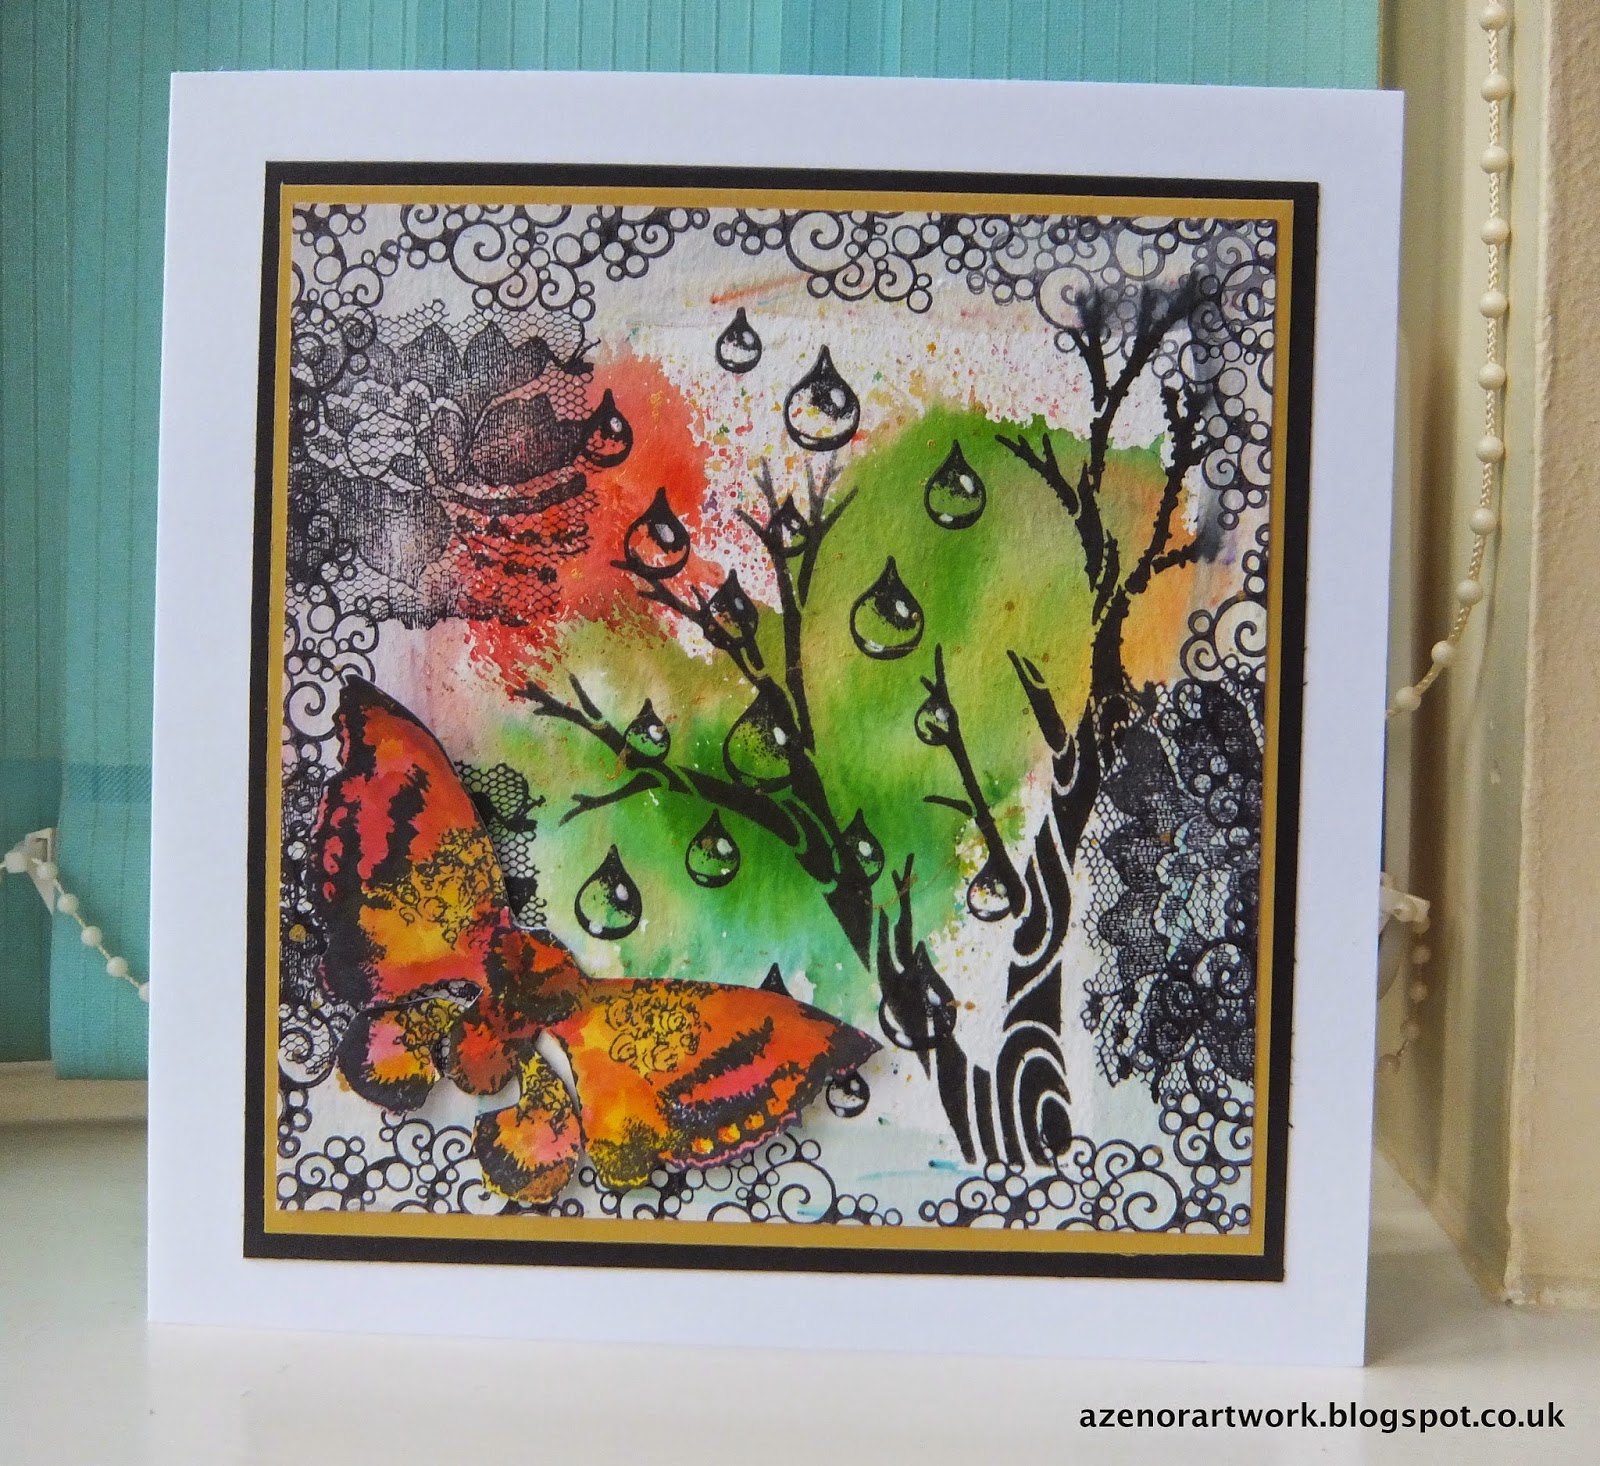
The workshops with Eileen Godwin were fabulous, I got to play with those lovely Designs by Ryn stamps and the new Brusho paints (yes, of course I bought some). Totally in my comfort zone with this as we played with the paint and distress ink. Lots of layering in the first example below. The tree branches are a stencil from Ryn as well as the stamped images including the famous water droplets.
Eileen work can be found on her blog : http://eileenscraftyzone.blogspot.co.uk/
There will be You Tube videos for Brusho techniques posted early December so look out for those.


This is the project from Eileen's second workshop. Stencils and stamped images are Designs by Ryn again. Aren't those bubbles delicious.
Ryn stamps are available from the Oyster Stamps shop : http://www.oysterstamps.co.uk/


Martine's workshops included lots of die cutting and beautiful flowers. The first project was a box with a matching card. I didn't complete this one but here is a picture of the card. That poinsettia is die cut using a Frantic Stamper die. For more of Martine's lovely white on white artwork and flowers go visit her blog : http://abfabdesigns.blogspot.co.uk/


Martine's second workshop had us making a flower from black (or red) card stock and altered with pan pastels and treasure gold. I love the metallic effect of the gold on black. 


.... and a close up of the flower.


A big Thank You to the Oyster Team for a superb craft retreat.
I have met new friends and learned new things. All in all, a very excellent weekend.

Saturday, 22 November 2014

TH Christmas Cards

Yesterday was a good day, a very good day .... a friend at work has recovered all my photos and documents from my broken hard disk and I am so grateful. Happy days.

Here is another Christmas card make using the lovely Tim Holtz Toy Soldier die.


The toy soldier parts are cut from scraps of red, black and white cardstock and edged with black dye ink. The background paper is from My Minds Eye Lost and Found Christmas paper pad, the edges distressed with vintage photo ink and scruffed using scissors then mounted on red card. Merry Christmas text peel-off sticker in white.

I am building up my stock of Christmas cards ... slowly ....

Did I post my half-tone snowman? I don't think I did. Here he is:


Thursday, 20 November 2014

Santa ... I've been so good

It's been a while. I have an excuse - the hard disk on my laptop died which did not leave me happy I can tell you. I was good, I backed up my hard disk quite regularly but, when the disk died, the external drive I was using for the backup got trashed too. Not happy, I have lost 2 years worth of my photographs and files. I highly recommend at least two methods of backup including cloud storage. At least my blog pictures are safe, that will teach me to blog more often!

So here is a quick blog update, my Santa Christmas card :


Woodware Large Word Stamp
Stamped onto Christmas paper from stash (Papermania I think from several years back).
Fussy cut the letters and glitter added to the hat.

More to come .......

Sunday, 19 October 2014

Blueprint Baubles

One TH Blueprint bauble stamp with two different results.


Stamped and embossed in white on Echo Park paper, Christmas Cheer by Lori Whitlock : Chalkboard.
Sentiment from JOFY 06 Christmas set.


The blueprint bauble was stamped onto Ranger cream cardstock and TH Distress ink (Antique Linen and Vintage Photo) added with a duster brush. I stamped the bauble again onto an old book page and a piece of striped paper, cut them out and added them.

Two relatively simple cards and quite different don't you think.


Saturday, 11 October 2014

Christmas Red, Green and White

Last weekend I visited the Craft Barn for their monthly demo day and saw a really different set of Christmas cards that I just had to try out. The technique is pretty easy and very satisfying to do.

Take one piece of white card and cover it in distress inks. I chose picked raspberry and evergreen bough as they are Christmas colours. Where they overlap and blend it makes a nice purple shade. Spritz the background with water.
Then layer white paint on top through various sized circle stencils, layering them up and overlapping the circles until you achieve the look you want. I made my stencils using punches and a scrap of Kraft card. I also substituted the acrylic paint for ColorBox Mix'd Media ink which is more of a paint than an ink.


The finished panel is the one bottom right in the picture :


The panel on the left was the same technique but using distress stain instead of ink which I don't think works very well, it would take a lot of paint layering to knock those colours back. The small panel at the top of the photo is just left over ink spritzed with water and card smooched through it. This one was used to stamp the Merry Christmas sentiment (Kaisercraft Christmas Carol set).

This is the finished card with black dots added around the border:


Thanks go to the Craft Barn demonstrator for the inspiration.


Thursday, 25 September 2014

Mini Seed Book

I missed the deadline for the Artful Times Challenge this fortnight as I was away but will post my mini-book anyway.
The challenge was to make a book that measures no more than 3 inches by 2 inches. When I was away visiting my Mum she gave me some seeds from her wallflower plant so that gave me the idea to make a seed book.


The book was made from Kraft card, one piece of card measuring 6 " by 2 " scored and folded. Then decorated with Papermania gardening paper with Chitchat stickers and buttons added to the front.


Inside the book I made a mini envelope from vellum for the seeds. The book pages are just folded white copy paper sewn into the fold with bakers twine.
I might carry this one around in my bag just in case I find seeds and I can make notes of where I found them and what they are.


Sunday, 7 September 2014

Mini Bird House

My contribution for the Artful Times Challenge 63 is a literal translation this time. The theme is to use a house shape so I have painted a mini birdhouse and decorated it.


The house was made of wood so I painted it with white gesso and then painted the walls with yellow acrylic paint, Banana Custard from Indigo Blu. It is a banana yellow, a great name don't you think.
The roof was covered in Flitter Glu and some Yorkshire Dales mega flakes applied, I'm pleased with the roof, the colours of Yorkshire Dales flakes are just stunning. Its a shame I've used them all up now, I might have to invest in another pot.
I die cut the tiny bird from some Kraft Core card in brown and stuck him on the front of the house. Then I added leaf ribbon and some paper flowers and gems from my stash.
The house is only 2 1/2 inches from the base to the apex of the roof, it is tiny.
I hope you like it as much as I enjoyed making it.


Sunday, 31 August 2014

I do like to be beside the seaside.

A quick post from me today, my entry in this week's Less is More challenge for week 187 where there is a song theme : "I do like to be beside the seaside".


Clear stamp from Acid Drops and Whatnots.
Image coloured with Promarker pen : poppy.
Panel matted on centura pearl black card and all mounted on a white deckle edge card.


Saturday, 23 August 2014

Artful Times Challenge 62 - Sewing

The first set of Tim Holtz stamps that I ever purchased was Haberdashery so it was nice to revisit that set for the Artful Times challenge this fortnight. I decided to make a tag for my entry. Everything used on the tag with the exception of the word Couture uses Tim Holtz Ranger products. The word stamp was a silicon clear stamp, see the difference in sharpness when using exactly the same dye ink. I have to say, the red rubber is far far superior.


The background was made using distress stains : squeezed lemonade, pumice stone and antique linen, spritzed with water and dried with a heat gun. I then edged the tag with vintage photo distress ink.
Using pumice stone DI, I used the "Measured" stencil and then stamped the images in black archival ink and Red Pepper Adirondack dye ink.
The Tim Holtz Sizzix On the Edge die : Sewing was used to cut the embellishment for the bottom of the tag. This was coloured with distress stains and distress ink and glossy accents added to the scissors. I added three red buttons to finish off and the stitched ribbon.

Not wanting to waste any of the stain and ink I had left on my craft mat, I made a matching ATC.


This was fun.
Have a great bank holiday weekend wherever you are.

Sunday, 10 August 2014

Playing with Stencils

Today I did some experiments with my JOFY flower stencil. Ink, paint and doodling, lots of fun. They all ended up on cards which is handy as I have a few birthday cards to send this month.


This one is stencilled with PaperArtsy Fresco Finish paints. The base flower is mermaid and the then I added Beach Hut over the top. Beach Hut is a translucent paint so the effect is quite interesting. There is a doodle flower on one of the new JOFY stamp sets that fits over the stencil flower but I don't have that set so I drew the doodle flower and added a few highlights in Haystack paint. Mounted on Kraft card with Happy Birthday sentiment.

The second card is the same base flower in Mermaid paint but I wondered what would happen if I added distress ink on top.


Peacock feathers distress ink on the flower overlay and highlights of Haystack paint. This one was supposed to have been a one layer card but I made a bit of a mess. I salvaged it with a Spellbinder hexagon die, mounted it on ribbed Kraft card and I think it works.

So, what does it look like using ink instead of paint?


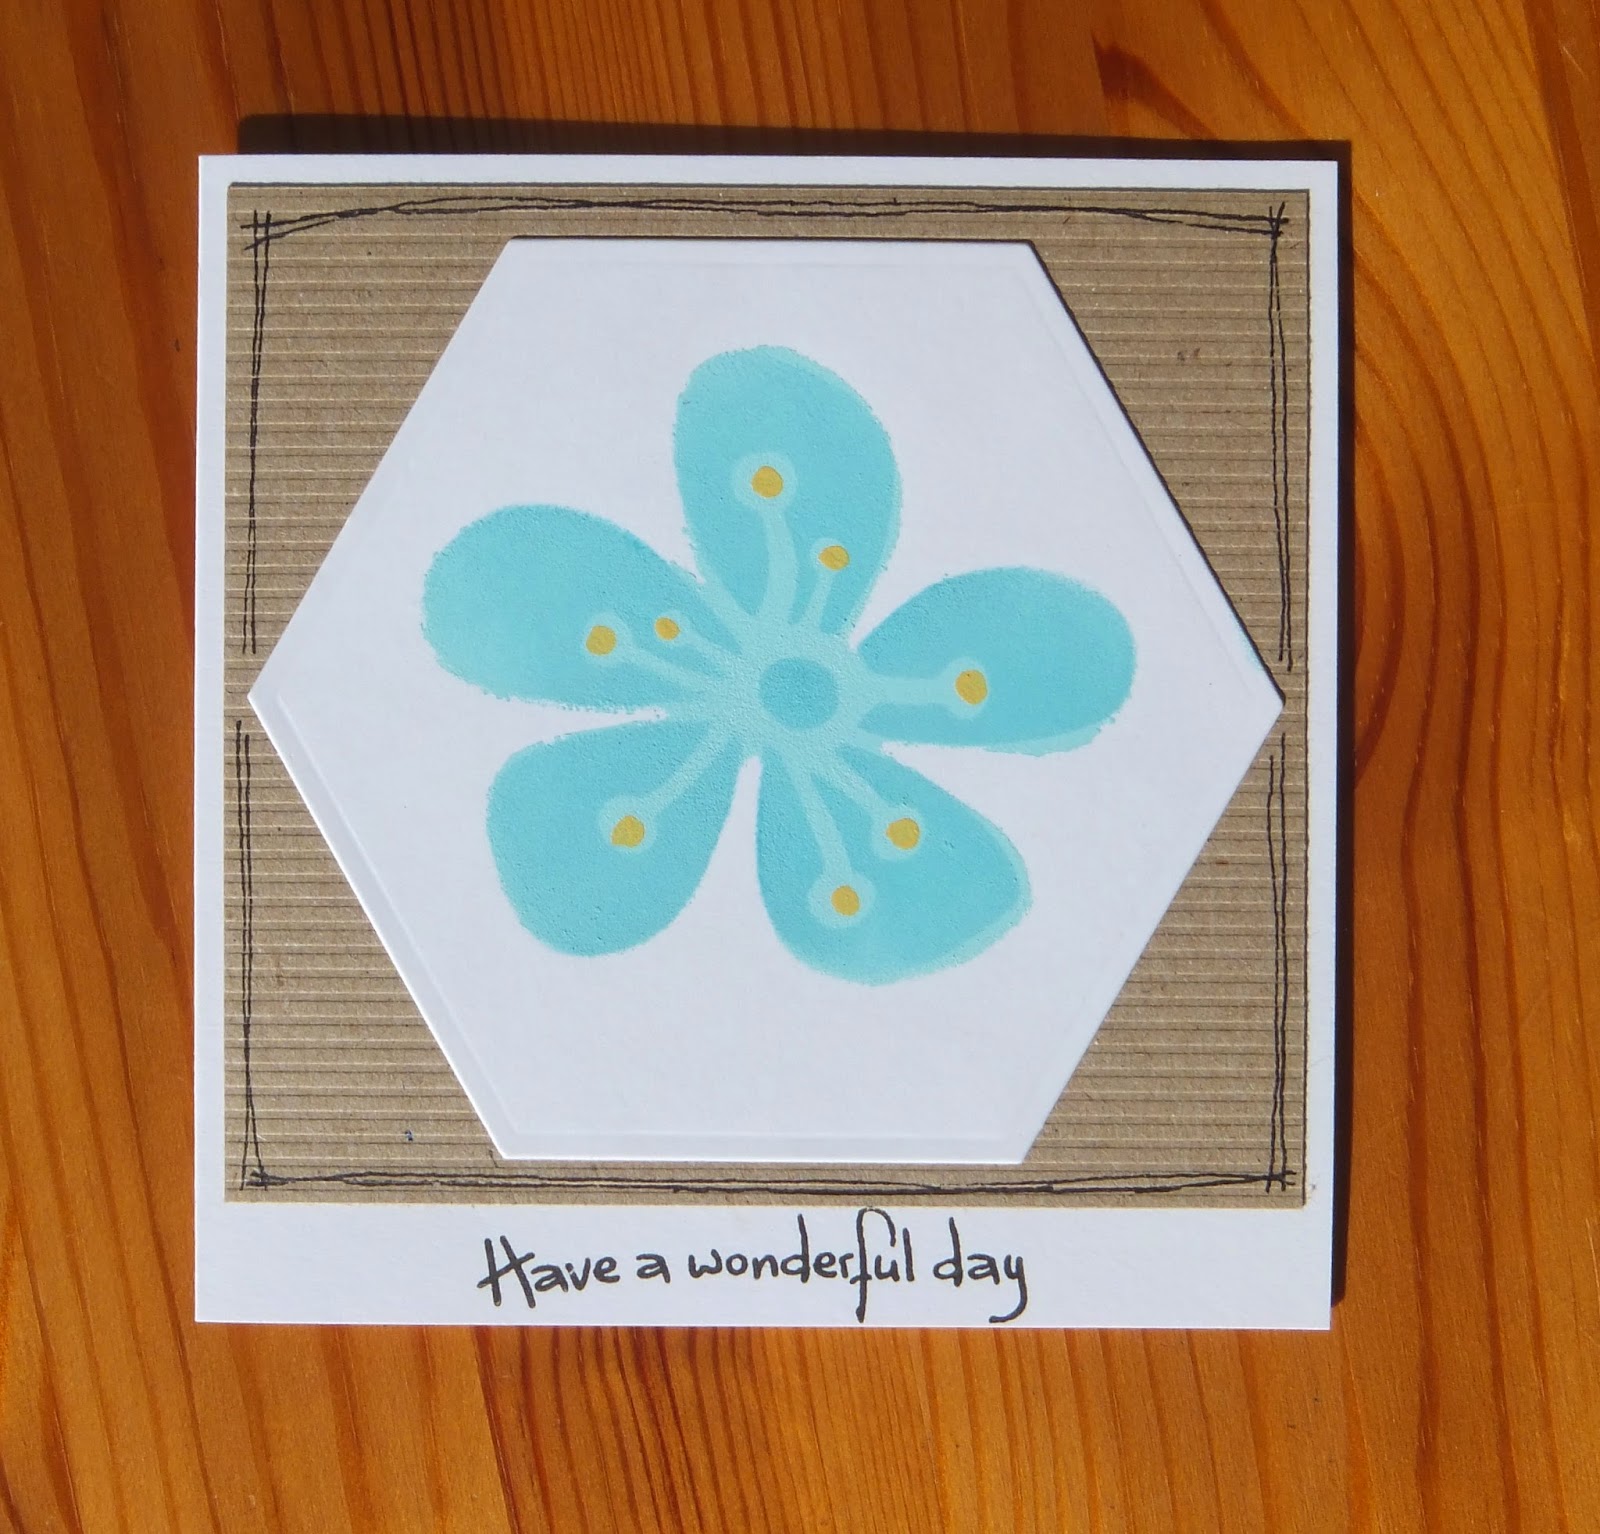
This one has Tumbled Glass DI applied to the base flower and Peacock Feathers DI for the flower laid over the top. The image is crisper. I liked the blobs of Haystack paint added before so did the same with this one. The sentiment is coloured with Promarker pens to match the flower and the panel mounted onto a Kraft card.

This is a nice stencil. There are 4 flowers, a base flower and 3 that can overlay it to build up layers. 
PaperArtsy stencil PS009.
Go see the designer's samples at Jo Firth-Young's blog.

Sunday, 3 August 2014

New JOFY Stamps!

Four new sets of JOFY stamps were launched at the Craft Barn demo day yesterday where I spent a lot of time deliberating over which should come home with me. I chose a Christmas set as I am determined this year as always to start making my cards early. August is pretty early don't you think.
Here is the card I made this afternoon.


The baubles are big. I like the sketchy images so left them black and white and just stamped the word JOY on some Studio Light paper, cut it out and added the letters to one of the baubles. Merry Christmas is stamped on the same paper and cut into a banner, doodles (oops, shaky hand today) around the edge and mounted on matching paper.
This set is JOFY 28. Should I invest in one of the other new sets? One of the flower sets? Probably!
For those of you who like Jo's design's and could not make it to the Craft Barn yesterday, I took a photo of the samples at the demo. That lovely turquoise flower is made using a flower stencil and the second limited edition set of JOFY paints, the colours are delicious, I think I need those paints on my shopping list.


Sunday, 27 July 2014

Artful Times Tag

I was over the moon to be runner up for the Artful Times challenge 59 : A Postcard from Abroad, I enjoy those challenges and look forward to seeing what the design team and participants come up with.

Challenge 60 is a tag, sounds straightforward doesn't it, except not so easy for me as I feel guilty about tags!
I have not posted any for a very long time and there is a reason for this. In 2012, I agreed to do an Alpha Tag swap with my friend Sally, one tag for each letter of the alphabet. Sally completed her set and sent them to me last Autumn. I have yet to complete mine (9 to go, I'm getting there). I WILL finish them and when I do there will be 26 of them to post here.

Having said that, I just have to play along with the Artful Times challenge so this afternoon I made a tag.
Here it is:


Background : Distress inks in Peeled Paint and Shabby Shutters, a few water drops flicked onto the tag.
Foliage stamped using Peeled Paint DI - Zendoodles String Theory set CICSA6192
Kaisercraft Butterflies stamped in black versafine ink.
The sentiment is from a Butterfly Kisses set.
Some die cut leaves added - Tim Holtz Spring Greenery (love that die, one of my favourites).
The ribbon is stained with peeled paint distress ink to match and a few dots of green distress stickles added for a bit of interest.

I hope you like it, and Sally, if you read this, I really am working on the tag project, I have not forgotten!

Saturday, 12 July 2014

A Postcard from Abroad

The Artful Times challenge 59 is A Postcard From Abroad.
I love mail art and had so many ideas for which country I would choose but in the end I choose Holland as it is less obvious and Dutch things are really so nostalgic for me. I had an Aunt who was married to a Dutchman. She spent 6 months of her year in Holland and 6 months in Cornwall and when she came back, she always brought gifts. I wonder how many little Dutch windmills are in people's houses in Cornwall due to my Aunt's gifting. I also had the misfortune of owning a pair of clogs, mine were red, the real wooden type - very uncomfortable.

Here is my entry for the challenge, my postcard from Holland.
The focal image is a windmill stamp called Delft Style Windmills from Katy Sue Designs stamped in Denim Adirondack dye ink and colour tinted with salty ocean distress marker. Salty ocean distress ink applied with a duster brush. The postcard stamp is a Tim Holtz one.


When I think of Holland I think of the blue and white of the Delft china and, of course, orange. I wanted to add some tulips to my postcard but have no tulip stamp but .... I remembered a Mariane Designs embossing and cutting folder that I have which has tiny tulips. The tulips are the waste from that cut and emboss folder, they took an age to pick out of the die and were devils to pick up, so tiny. The stamp is from a sheet of vintage images from my stash and the flowers were made using a Martha Stewart punch  with tiny orange gems in the middle.
Phew .... my postcard is done, and I loved doing this challenge.

Monday, 7 July 2014

Earth Tones

Earth Tones is the theme for this week's Less is More challenge. Resisting the temptation to produce yet another Autumnal leaves card as I'm pretty sure I did one of those last year for a Less is More challenge, I decided to use earth tones for the background on my card.

I used a Memory Box designer stencil with TH Distress Inks applied with some cut and dry foam on Crafty Individuals coated cardstock. Lovely result, the colours blend so well on that card.

The focal images are die cut from Crafters Companion Centura Pearl card, the poodle is mounted on 3D foam. These are lovely quality dies from Frantic Stamper purchased from Oyster Stamps with my winnings from the Artful Times Challenge last month.


Summary of Materials Used:
Precision Cutting Die by Frantic Stamper Inc. - FRA-DIE-09093 Toutou the French Poodle
Precision Cutting Die by Frantic Stamper Inc. - FRA-DIE-09091 Loretta
Memory Box designer stencil - Texture Mesh 
Centura Pearl black cardstock
Coated cardstock from Crafty Individuals
Tim Holtz Distress Inks : Vintage Photo, Ripe Persimmon and Wild Honey


Sunday, 6 July 2014

A Day Without Laughter .....

Just a quick share today of a card I made using my Charlie Chaplin stamp. I kept it simple in black and white as I feel it should be.


Materials : 
Charlie Chaplin Stamp - Deep Red
Stamped with black versafine ink
Aperture cut in black Centura Pearl card using a Spellbinders distressed edges die.

..... and don't forget to laugh.


Sunday, 29 June 2014

Recycling and Wooden Things

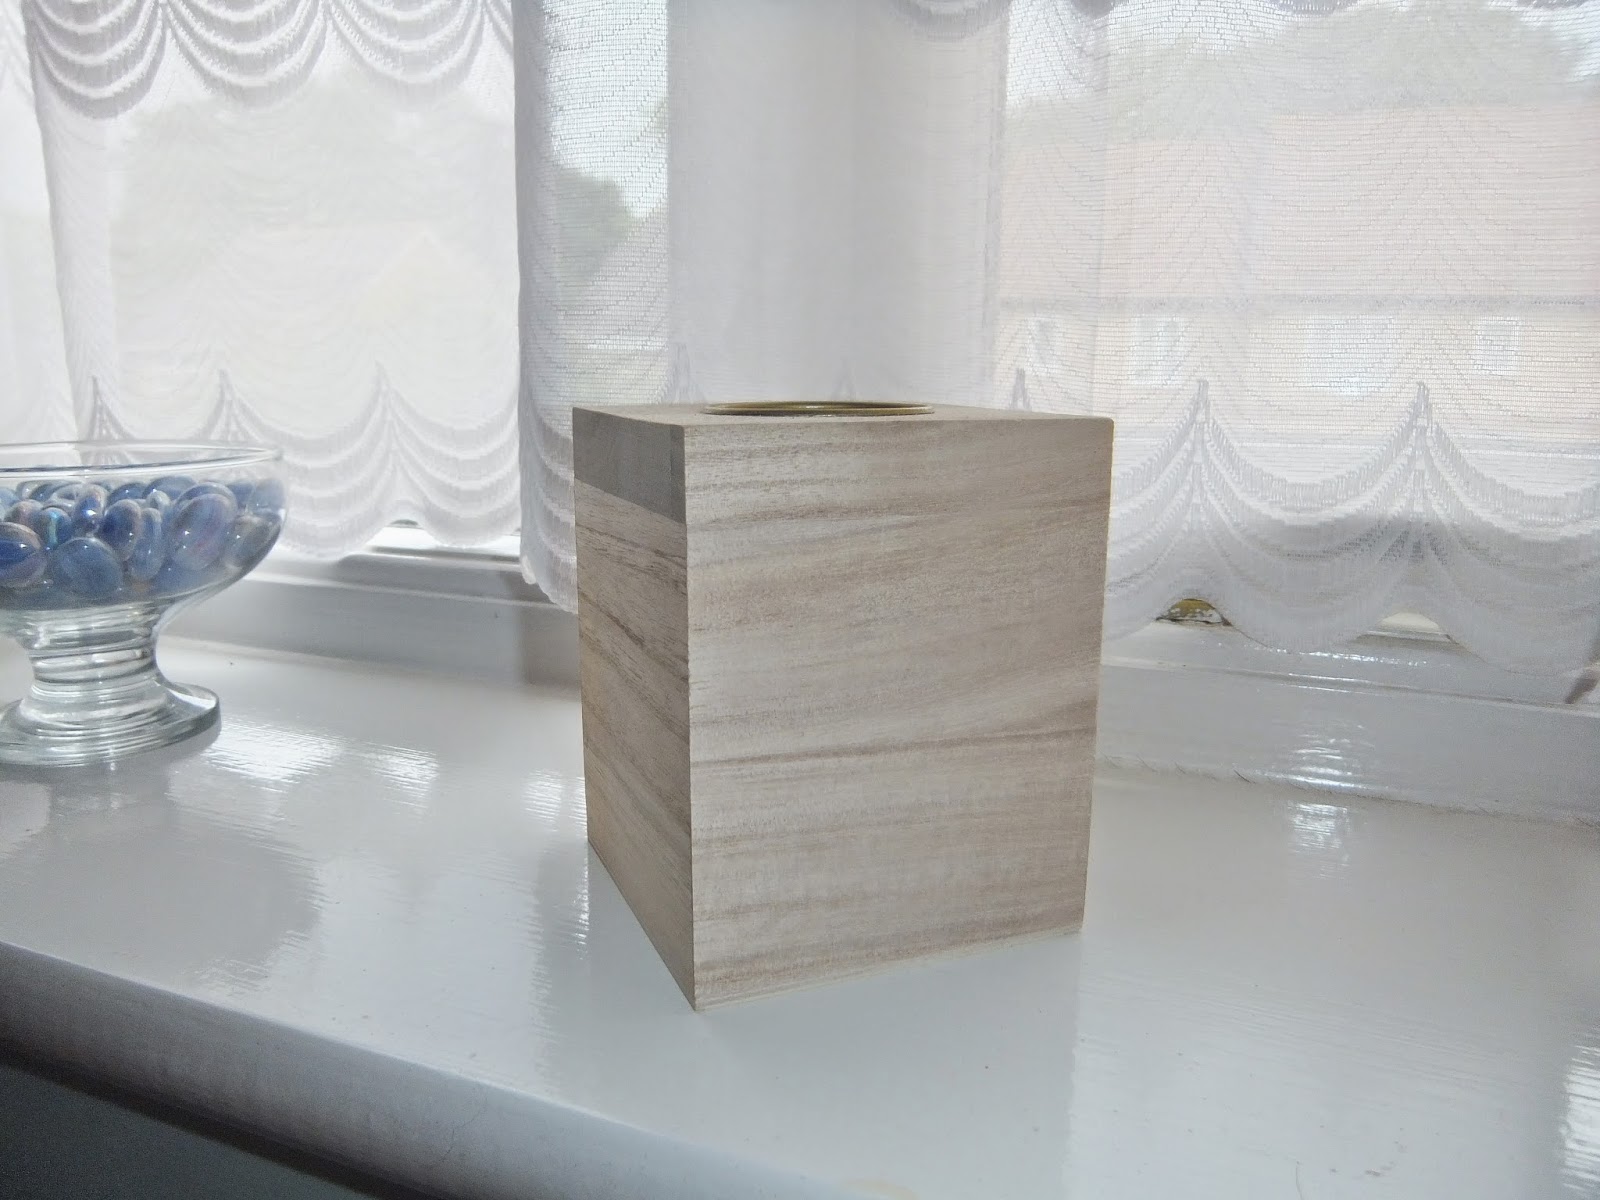
I have collected quite a few wooden items that I have stashed away for future crafty projects so it was a nice surprise to see that the Artful Times challenge 58 this fortnight is Made in or on wood. I chose a wooden tea light holder. This is what I started with :


Back in March I made a birthday card for a friend using an old ordnance survey map, I still have panels of that map left so for my tea light holder I decided to recycle some more of that map. This is the result:


The box is painted with Paperartsy Fresco Finish paint : Nougat.
Panels of the map are stuck to the box with Mod Podge and trimmed to fit with a craft knife.
The landscape is cut from green cardstock using a Memory Box die called Modern Landscape Border.
Add a tea light (I just happed to have an apple green one to match, lucky accident).

I still have more map panels and to use up the left over die cut border, I made a quick card which I will enter in the Less is More Challenge, Week 178 Recipe : to use a recycled item. My recycled item being the map.


I quite like the way the river meanders across the card, another lucky accident as it wasn't intentional.
Happy Crafting.


Tuesday, 27 May 2014

Collage Couture

A couple of years ago I bought a book by Julie Nutting called Collage Couture. My intention was to learn to draw the figures and create some fashion collage inspired by the book. We are all full of good intentions but time passes and now we can buy the Julie Nutting doll rubber stamps. I bought "Megan".

Here are two cards using my Megan doll.


The hair and boots are stamped and cut out from Kraft card. The dresses and panel are Marianne Design papers from the 1950's paper pad as is the sentiment on the tag card.
These are great fun to play with and I recommend that book, it is full of excellent inspiration. 

Sunday, 25 May 2014

Owls

There are many stories from folklore associated with Owl symbolism, some believe they represent wisdom, some believe they are a symbol of misfortune. Often depicted on Halloween artwork representing the dark side of mythology, they are always very popular images on cards. Whatever you believe, they are fascinating.
So the theme for my CAS card this week is an owl.

I am entering this in the Less is More challenge this week where the recipe is to include a die cut. In fact, for this card I used two.


The owl is stamped in coffee archival ink and cut out leaving a white border. The stamp was a freebie from Get Stamping magazine.
I cut an aperture in some ribbed kraft card with a Sizzix Framelits die called Flowers, Scallop. The owl is then mounted in the aperture and a branch added. The branch is a Memory Box die.

Hope you like him.

Wednesday, 14 May 2014

Mail Art

The Artful Times Challenge 55 is Mail Art. I just realised that Artful Times is sponsored by Oyster Stamps and since the Oyster Stamps people were so nice to me last weekend I thought I'd make the effort to do a challenge, haven't done one for a while (which is frustrating because I like blog challenges, they make me think).

This is my decorated envelope which I will enter for the challenge:


I started by masking a border around the envelope and masking out an oval for the address. The stamps used are Cardio Majestix Emily's Garden, a lovely set of miniature flowers, foliage and a butterfly. Starting with the larger flower I stamped the flowers with Adirondak Stonewashed dye ink, first, second and third generation stamping. Then added the smaller flower in Memento Paris Dusk. The leaves and foliage are stamped with Memento New Sprout and Olive Grove and then the masks removed.

The butterflies are added last after stamping the Daisy Post stamp which is a very old one from my stash by Stampendous, I used to use that a lot so it was nice to re-discover it for this little project. I guess I should make a matching card to go in it ..... I might just do that.

Saturday, 10 May 2014

Daventry Craft Retreat

A new adventure for me. Last weekend I went to the Oyster Stamps craft retreat in Daventry, my first craft retreat. Never having attended one of these, I had no idea what to expect. There were six workshops over two days, all papercrafting, no paint involved and only a little bit of ink but I enjoyed it. The demonstrators were Martine from Oyster Stamps, Kay and Amanda from Honey Doo Crafts and Sandra from The House of Zandra. Highly recommend this one, the organisation by the Oyster Stamps team was excellent, the hotel was the usual events type hotel but the staff were friendly and helpful and the food was very, very good (being vegetarian often means little choice but not at this venue). Oh, and did I mention it was very reasonably priced as well.

I completed two of the six projects at the workshop but finished off two more this week. Here are my House of Zandra projects.


A big thank you to the Oyster Stamps team, to the demonstrators, to my friend Beryl for driving me there and being such good company and to all the lovely people I met last weekend. x


Saturday, 26 April 2014

JOFY Masterboard Project

Inspired by Jo Firth-Young's masterboard makes on the PaperArtsy blog, this is the project that I was working on last weekend. For details of Jo's masterboard technique, see the tutorial here and for her inspirational makes look here.

My masterboard started as an A4 piece of white stamping card and I used, mainly JOFY set 24 with one element from JOFY 13 and the leaf from JOFY 09. The flowers are stamped in black archival ink and the little twiggy things stamped in green. The stars are stamped onto a book page and stuck to the card then coloured with inktense pencils. When the colouring was finished I quite liked the pencil effect but brightened it by using a water brush. Here are the before and after masterboards.


I made a book cover by cutting two panels and mounting them front and back on this long slim book.


There was plenty left for two 6 x 6 cards. Both inspired by Jo's examples but not exactly the same.


The colouring took a long time but I did enjoy this project and I have a few bits left that will probably make their way on to an ATC at a later date. I missed the deadline to link this up on the PaperArtsy blog, nothing new there, I guess the work deadlines have to take priority.


Sunday, 20 April 2014

Clouds

My second post today and probably inspired by our very wet rainy Easter Sunday.

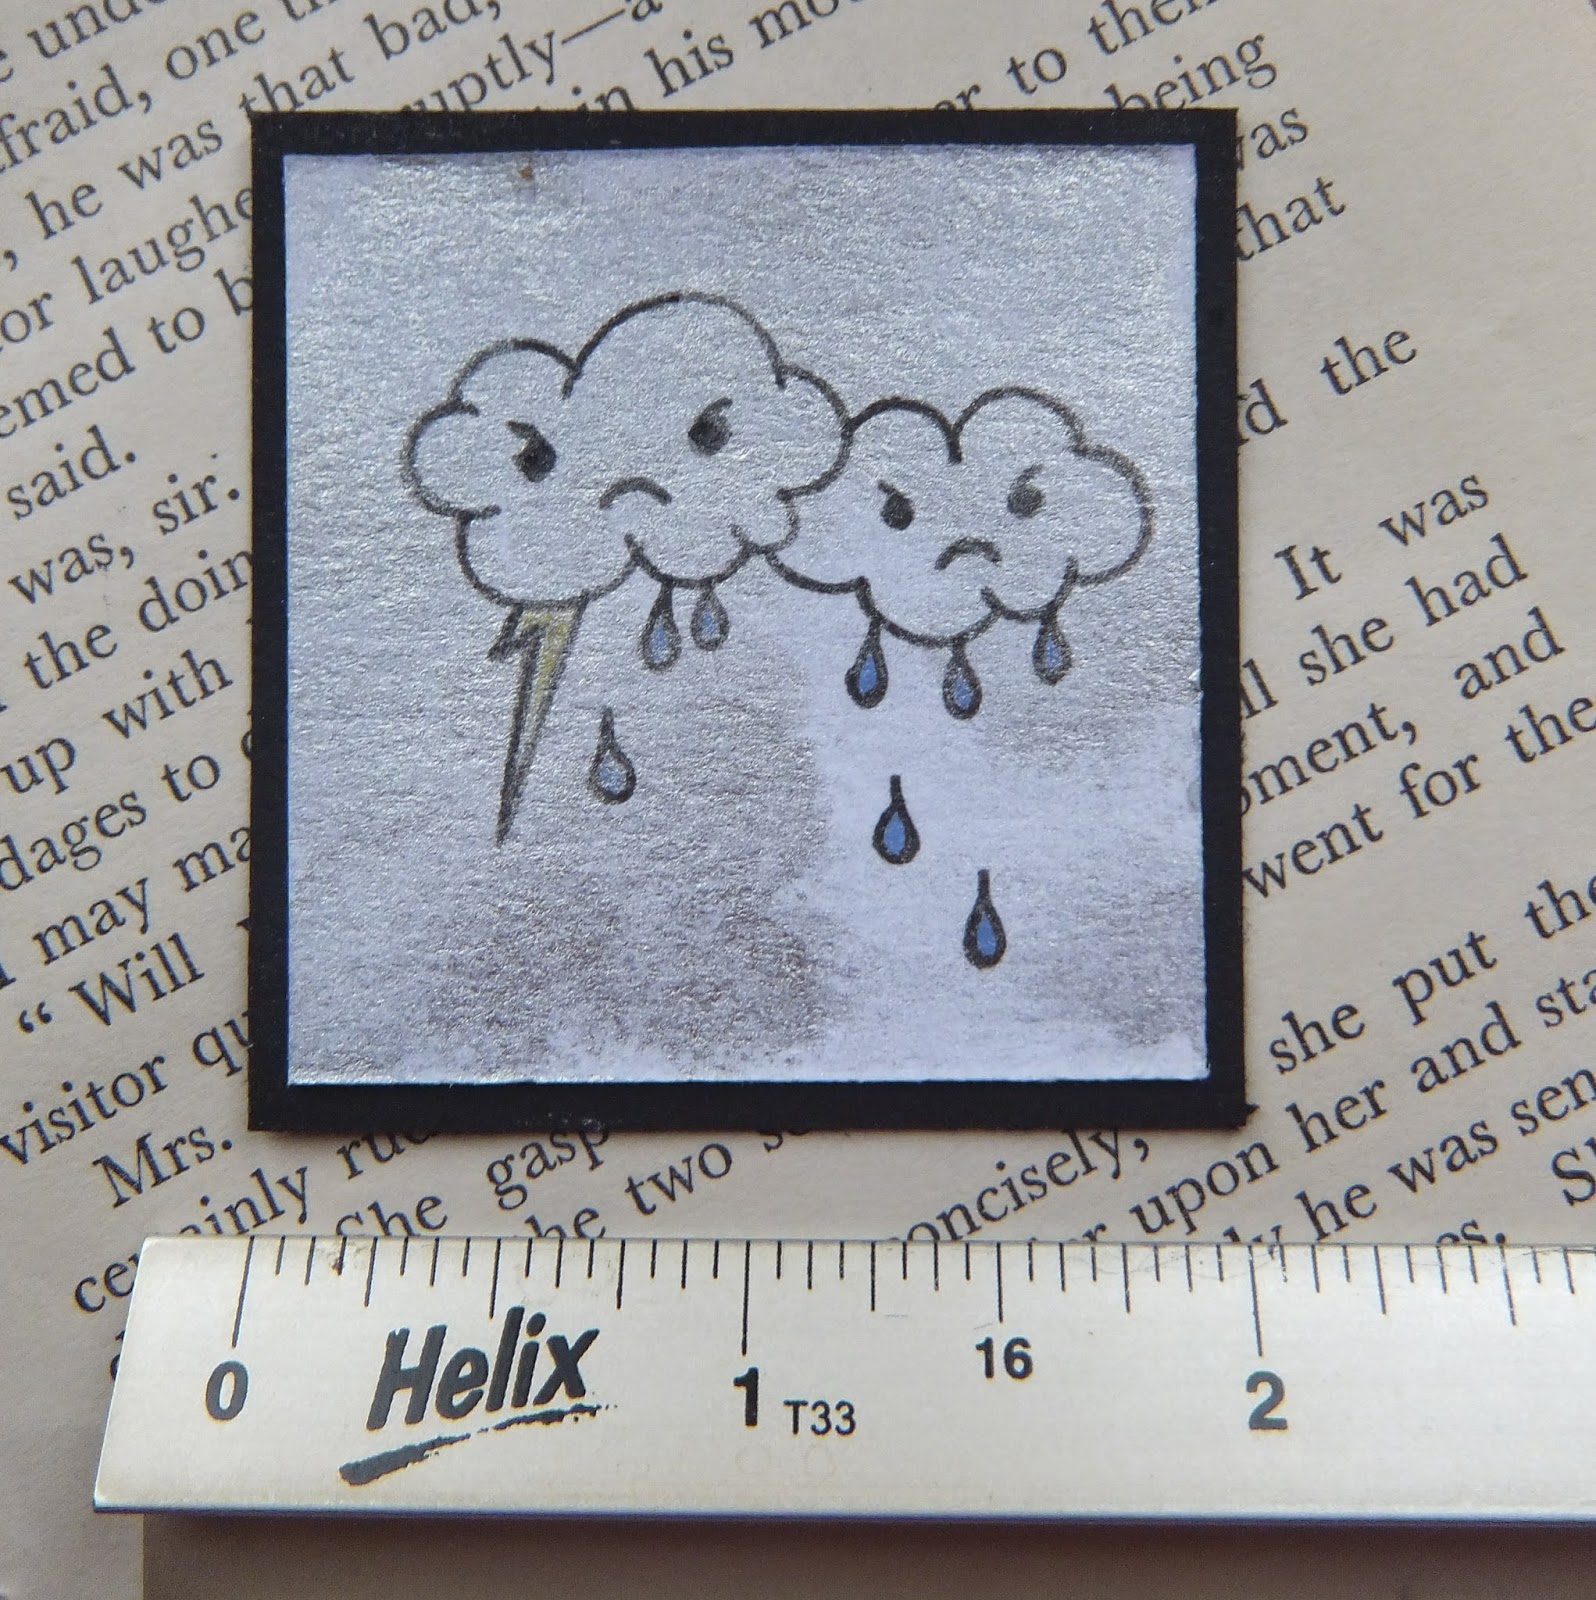
Here is my twinchie for the Twinchie Challenge blog where the theme is "Clouds".


My clouds are hand drawn on a background scrap of card with random splodges of pewter distress stain and the raindrops coloured with Promarkers. My clouds are mean.

Happy Easter

A quick simple card for Easter.


Background : Kraft card embossed and die cut with a Marianne Designs embossing folder - Tulips.
Tando Creative eggs, bows and chicks painted with PaperArtsy Fresco finish paint.

Happy Easter.

Saturday, 29 March 2014

12 Tags of 2014 : March

I love Tim's March tag. The stamps are great, the technique is lovely to do and there is not a die cut anything on it! I have the mini versions of the stamps so my March tag is small but cut from Ranger manila card as recommended.
The full tutorial and fabulous examples are on Tim's blog.
Here is my tag. I stuck to the tutorial as closely as possible but left off the word band as I don't have those and didn't want to spoil it by improvising.


My photo is doesn't show the airbrush stencil effect too well but it is there. I used a chicken wire stencil as I don't have the one Tim used so it is subtle. Great images to work with and lots of fun to do. I love that egg!

Saturday, 22 March 2014

Little Houses

A project that I really enjoyed doing, a key hanger using a Tando Creative kit.


The parts are thick card except for the base which is made of wood. I used a mixture of PaperArtsy Fresco Fonish paints and Tim Holtz Distress paint for this project.
TH Distress Paint : Iced Spruce, Antiqued Bronze and Tarnished Brass.
Fresco Finish Paint, London Bus, Irish Cream.

The houses are painted with the Irish Cream acrylic paint and then I used a Crafty Individuals crackle stamp with Jasmine Mixed Media Inx by Colorbox. Here is a close up:


For the roof detail , I used a Kaisercraft Wood Grain stamp and coffee archival ink over the London Bus paint. The script on the background panel is an Inkylicious stamp called Latin Text. A close up of the roof:


This project took me some time but was worth it, I shall send it to my Mum for Mother's Day. I bought my kit from The Craft Barn, the link shows the same project in a different colourway. All I need to do now is find a way to wrap it.