Showing posts with label JOFY. Show all posts

Friday, 9 November 2018

2018 Topic 19 : Tissue Paper

For the PaperArtsy challenge this time, the topic is tissue paper. Lots of options with this topic and I have chosen to use bleeding art tissue. Here is the challenge link with the inspiration:  PaperArtsy Topic 19 : Tissue Paper

My completed entry is a card but when I started playing I wasn't entirely sure where I was going with this.
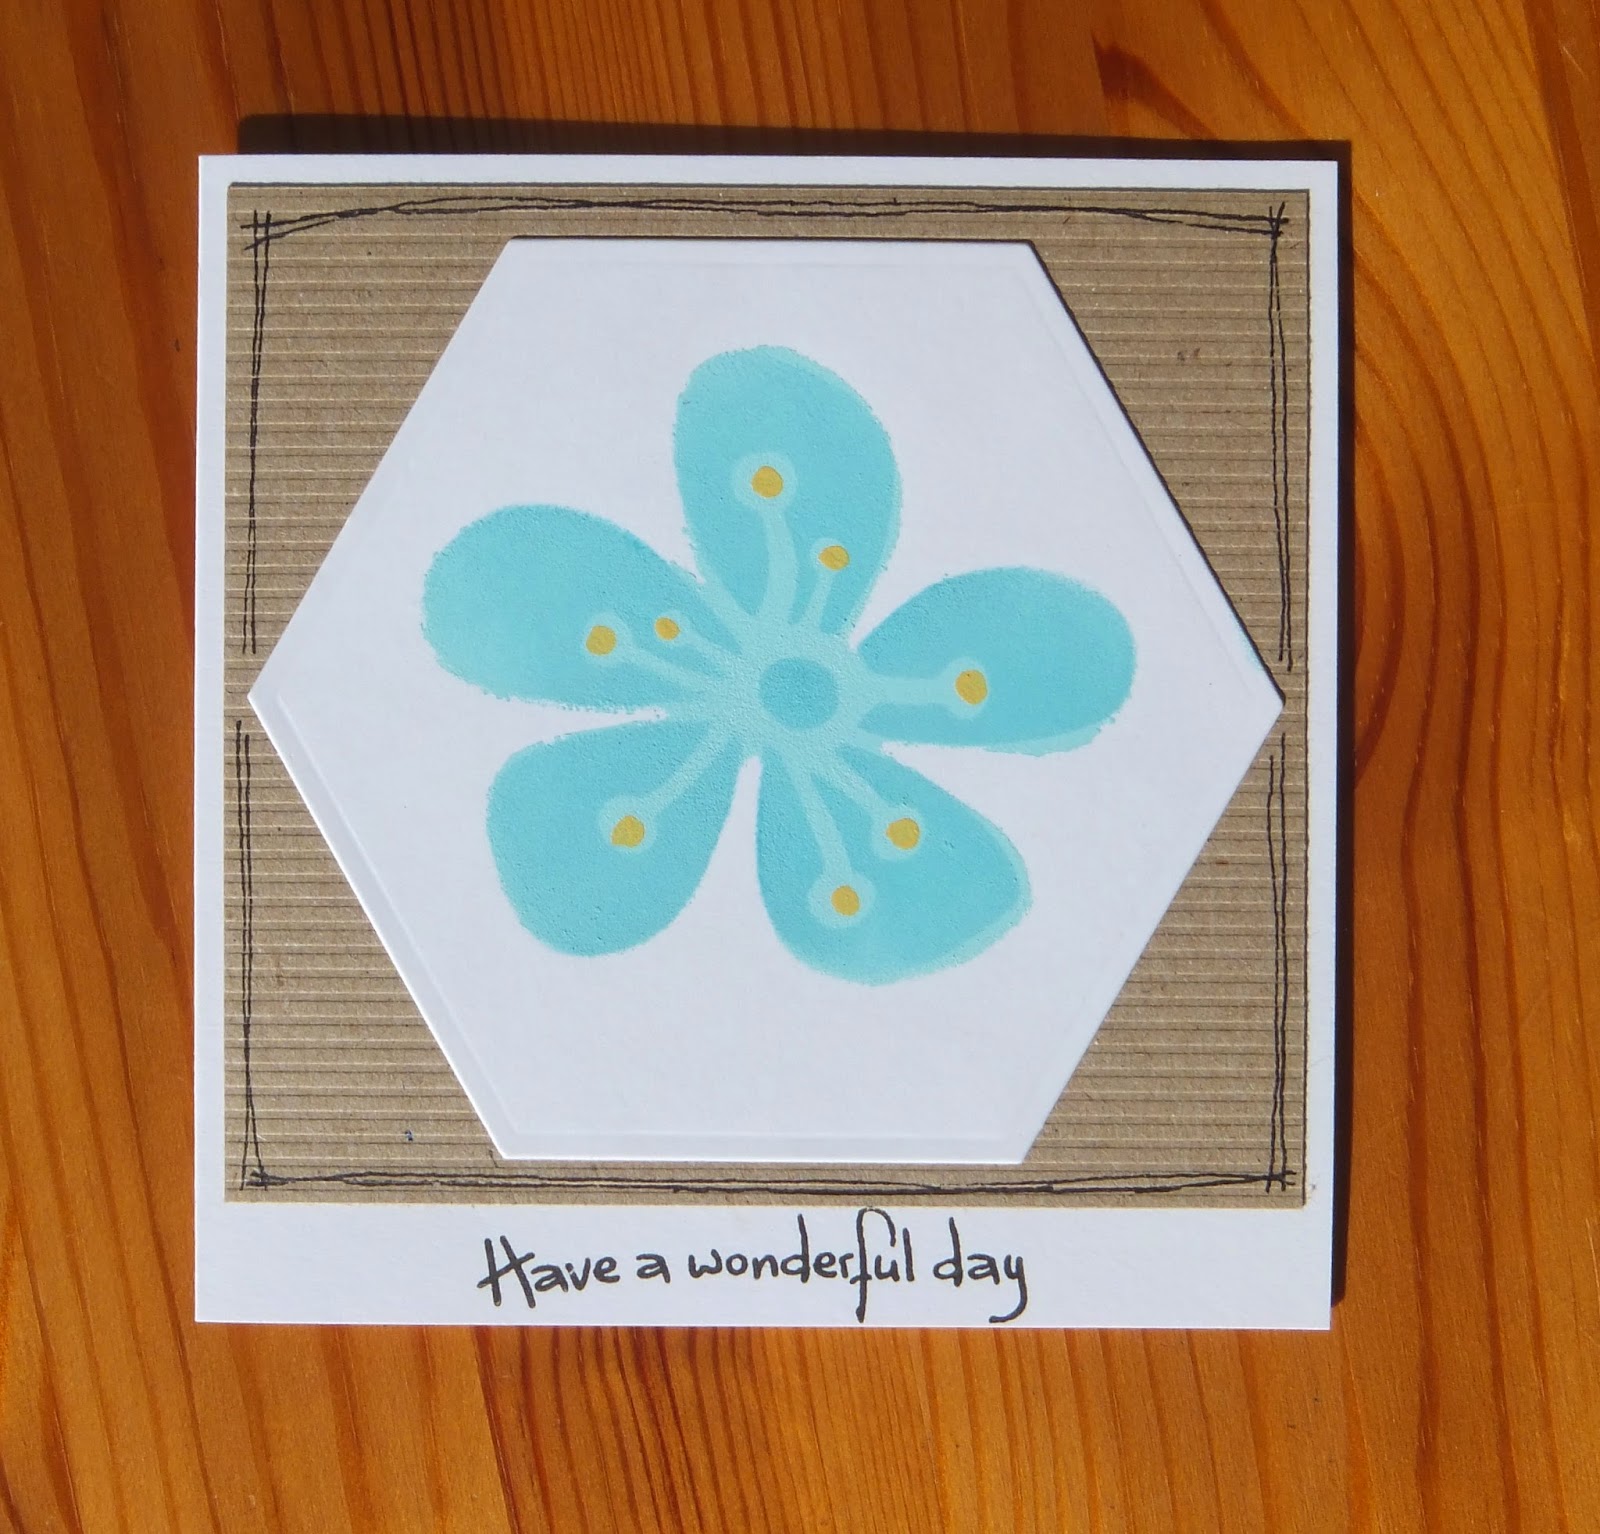
Here is the card using the bleeding art tissue technique for the background and stamped tissue paper flowers.


I used my new stamps that I got with my win for topic 17 the other week: JOFY 62.

I started by die cutting lots of hexagons from tissue paper, arranged them on the watercolour card and painted them with water.


See how the colours bleed into one another, isn't it lovely.  At this point I had to walk away and not be tempted to peep. I think I left it for about 20 minutes. Then I peeled off the tissue when it was dry. This is the result :

The colours have bled into one another but still we see the hexagon shapes. This is a good technique for backgrounds.

I stamped the JOFY flowers onto some book pages and cut them out and also stamped the flowers on white tissue. They were applied to the card with Mod Podge. I finished it off with a bit of doodling with a gold pen and mounted it on the card.

I hope you like this one.

Thanks to everyone who commented on my last post, I really appreciate those comments.
Bye for now.


Sunday, 6 May 2018

Handmade Matchbox

PaperArtsy Challenge Topic 8 : Boxes.

Last weekend when I saw the PaperArtsy challenge inspiration, the example that caught my eye was the matchbox art. I have never tried making a box so retrieved my old envelope punch board that has been gathering dust on the shelf and searched the internet for instructions to make a matchbox. I found a good one and made a test box out of kraft card. The test box worked so became my final box.

Here is the You Tube video I found:
http://www.ddstamps.com/dd_stamps/2013/12/another-box-using-the-stampin-up-envelope-punch-board.html
Thanks to Diane Dimich for the instructions.


I decorated my box with Jofy images from stamp sets 13 and 24, stamped directly onto the box and stamped onto old book pages. What to put in the box? Well, it is always useful to have a few gift tags to pop on presents so I made three matching gift tags.

Here is my matchbox project.


I decorated the inside of the box.


.... a view of the front of the match box.


.... and the three tags.


That project was a good way to relax after spending the morning tackling the wilderness that is my garden on such a hot day. 

Until next time, have a great weekend everybody. x


Sunday, 11 March 2018

Friends in the Garden

PaperArtsy Challenge Blog Topic 4 : Whimsical.

I like the definitions of whimsical, a couple of the dictionary definitions popped out : "playful" and "odd" as well as optimism, hope and innocence. All good words that put you in a happy place.

For this challenge I used a mixture of Jofy and Kay Carley stamps on the same panel which I mounted on a card.


I started with a painted background (Captain Peacock) and stencilled circles in Teresa Green. 
Then stamped Kay's flowers and grasses and added some coloured details using white and dark pink Graphik paint pens. The faces are coloured with Promarks, cut out and added to the flowers. I finished it off with a few small flowers and a butterfly.

Ingredients :
PaperArtsy Eclectica EKC02 by Kay Carley
PaperArtsy Jofy 42
Fresco Paints from FFPA1 Limited Edition : Captain Peacock, Teresa Green and Granny Smith.

I have been having a think about what to do for this challenge all week and the finished result above is miles away from my original idea. Maybe I'll do another one.

I hope you like my little friends in the garden.
Happy Weekend everyone. x


Sunday, 12 June 2016

Stars

The theme for the Craft Barn two weekly challenge is stars. All I could think of was stencilled stars as a background, that was what I wanted to do and I really have no idea what came into my head but I ended up with this card.


I stamped the focal image (JOFY JM30) and masked it out then add the stars with a Tim Holtz star stencil using Abandoned Coral TH Distress ink trying to fade the stars out in the middle around the pile of gifts. The edges are highlighted with Black Soot distress ink and to finish off the background I doodled around some of the stars. The gifts are coloured with distress pens.

I am not very happy with it, I think it is missing something but am not sure what. Maybe it should have a sentiment? Maybe it would have been better as a star background with a quote or sentiment as the focal image. I'll post it anyway, I have run out of steam with this one.

Sunday, 31 January 2016

Tea Break Craft Classes

I had planned a lazy Sunday today. I watched a couple of Eileen Godwin's youtube videos this morning which prompted me to head to my craft room for a bit of a play. The ironing will have to wait, who cares when there are interesting things to do.
Whilst the technique was fresh in my mind, I made two panels and mounted them on cards. I made two as I was pretty sure I would mess at least one of them up but I am quite pleased with both results.

The video is here if you want a watch, short enough to watch during a tea break:
https://www.youtube.com/watch?v=5ktNf5vqqLY


Stencils used : Paperartsy - JOFY PS009 and Tim Holtz - Shatter
Stamp : bubbles from JOFY 09
Distress Inks : Picked Rasberry, Peacock Feathers and Wild Honey with Black Soot to finish
White pen, gold gel pen and sequins to embellish (note: those larger sequins are silver, they look black in the photo).

This was good fun to do and great practice for layering.
Thanks to Eileen for the inspiration today.

Sunday, 10 August 2014

Playing with Stencils

Today I did some experiments with my JOFY flower stencil. Ink, paint and doodling, lots of fun. They all ended up on cards which is handy as I have a few birthday cards to send this month.


This one is stencilled with PaperArtsy Fresco Finish paints. The base flower is mermaid and the then I added Beach Hut over the top. Beach Hut is a translucent paint so the effect is quite interesting. There is a doodle flower on one of the new JOFY stamp sets that fits over the stencil flower but I don't have that set so I drew the doodle flower and added a few highlights in Haystack paint. Mounted on Kraft card with Happy Birthday sentiment.

The second card is the same base flower in Mermaid paint but I wondered what would happen if I added distress ink on top.


Peacock feathers distress ink on the flower overlay and highlights of Haystack paint. This one was supposed to have been a one layer card but I made a bit of a mess. I salvaged it with a Spellbinder hexagon die, mounted it on ribbed Kraft card and I think it works.

So, what does it look like using ink instead of paint?


This one has Tumbled Glass DI applied to the base flower and Peacock Feathers DI for the flower laid over the top. The image is crisper. I liked the blobs of Haystack paint added before so did the same with this one. The sentiment is coloured with Promarker pens to match the flower and the panel mounted onto a Kraft card.

This is a nice stencil. There are 4 flowers, a base flower and 3 that can overlay it to build up layers. 
PaperArtsy stencil PS009.
Go see the designer's samples at Jo Firth-Young's blog.

Sunday, 3 August 2014

New JOFY Stamps!

Four new sets of JOFY stamps were launched at the Craft Barn demo day yesterday where I spent a lot of time deliberating over which should come home with me. I chose a Christmas set as I am determined this year as always to start making my cards early. August is pretty early don't you think.
Here is the card I made this afternoon.


The baubles are big. I like the sketchy images so left them black and white and just stamped the word JOY on some Studio Light paper, cut it out and added the letters to one of the baubles. Merry Christmas is stamped on the same paper and cut into a banner, doodles (oops, shaky hand today) around the edge and mounted on matching paper.
This set is JOFY 28. Should I invest in one of the other new sets? One of the flower sets? Probably!
For those of you who like Jo's design's and could not make it to the Craft Barn yesterday, I took a photo of the samples at the demo. That lovely turquoise flower is made using a flower stencil and the second limited edition set of JOFY paints, the colours are delicious, I think I need those paints on my shopping list.


Saturday, 26 April 2014

JOFY Masterboard Project

Inspired by Jo Firth-Young's masterboard makes on the PaperArtsy blog, this is the project that I was working on last weekend. For details of Jo's masterboard technique, see the tutorial here and for her inspirational makes look here.

My masterboard started as an A4 piece of white stamping card and I used, mainly JOFY set 24 with one element from JOFY 13 and the leaf from JOFY 09. The flowers are stamped in black archival ink and the little twiggy things stamped in green. The stars are stamped onto a book page and stuck to the card then coloured with inktense pencils. When the colouring was finished I quite liked the pencil effect but brightened it by using a water brush. Here are the before and after masterboards.


I made a book cover by cutting two panels and mounting them front and back on this long slim book.


There was plenty left for two 6 x 6 cards. Both inspired by Jo's examples but not exactly the same.


The colouring took a long time but I did enjoy this project and I have a few bits left that will probably make their way on to an ATC at a later date. I missed the deadline to link this up on the PaperArtsy blog, nothing new there, I guess the work deadlines have to take priority.


Saturday, 9 November 2013

Happy JOFY Christmas

So many ideas in my head for Christmas cards this year and here is a relatively easy make using PaperArtsy JOFY 19 only, no mixing in anything else from any other stamp plates.


For the background I stamped the stars in black archival ink on Kraft paper and stuck it on a white C6 card. The panel uses two of the images stamped and coloured with Inktense pencils. I used exactly the same colours as on the packet that the stamp set came in, what a cheat, but it got me in the mood to do other things.

Here is another thing. I wanted to use my new Jofy JM30 to make a little Christmas card but .... it turned into a birthday card.


The frame and panel were cut from white cardstock using a Spellbinders die, The presents stamped and coloured with Promarkers and some glossy accents added to the green dots. As before, I was looking at the packaging on the stamp and all the JOFY stamps have this really nice faded dot pattern around the edges so I thought I'd have a go add adding that to the frame. I used Festive Berries distress ink through a stencil and then drew around the edges with pastel blue Promarker. To finish it off I added a Happy Birthday sentiment from an old Papermania set and doodled around the edges.

Now I'm off to browse what others having been doing because I need a bit more inspiration right now.

Tuesday, 22 October 2013

Trees

The Less is More challenge this week is Trees. Here is my entry, a Christmas card made with a Christmas Tree mask and sparkle medium.


Recipe:
That Special Touch Mica Mask - Christmas Trees by Creative Expressions
Imagination Crafts Sparkle Medium - Champagne
Rubber stamp Merry Christmas sentiment from PaperArtsy JOFY 19
Little crosses from Anna Marie Christmas Tree set
Kraft Card
Mounted on white 6 x 6 cardstock

I used the sparkle medium on the mask and cut out the triangular trees. I then mounted them on the Kraft card and added the sentiment and kisses. The larger tree in the middle is mounted on foam pads.

Friday, 30 August 2013

Countdown : 116 days

There are only 116 days until Christmas, a scary thought in August when the sun is still shining!
There is a new challenge on the Fun with ATCs blog where the theme is black, white and red and I ended up with this ATC, it wasn't intentional, it just happened. Earlier in the week I found a die cut bauble and started doodling zentangle patterns on it. When I saw the black, white and red theme for this challenge I thought I'd enter just for fun.


Recipe :
Die cut bauble, zentangled.
"deck the halls" sentiment from JOFY06 stamp plate by Paperartsy
Red pearl embellishment
Additional doodling around the edges of the ATC to finish it off by me.

Tuesday, 13 August 2013

I am 1

It is one whole year since my first blog post and I would like to thank all of you who have encouraged me along the way. I've learned so much from the blog challenges and from following the inspirational crafts people and artists over the past year. Thank you all so much.

I will start year two with my entry for this month's Twinchie challenge which is #4 Florals.
My 2 inch square piece is (predictably) a daisy from Paperartsy's JOFY 13. The background is stamped using a Judikins cube in shades of green and the flower stamped on white cardstock and coloured with inktense pencils then softened with a water brush, cut out and mounted on the background.


Happy Tuesday everyone and thank you for dropping by.

Thursday, 20 June 2013

Loves Me, Loves me Not

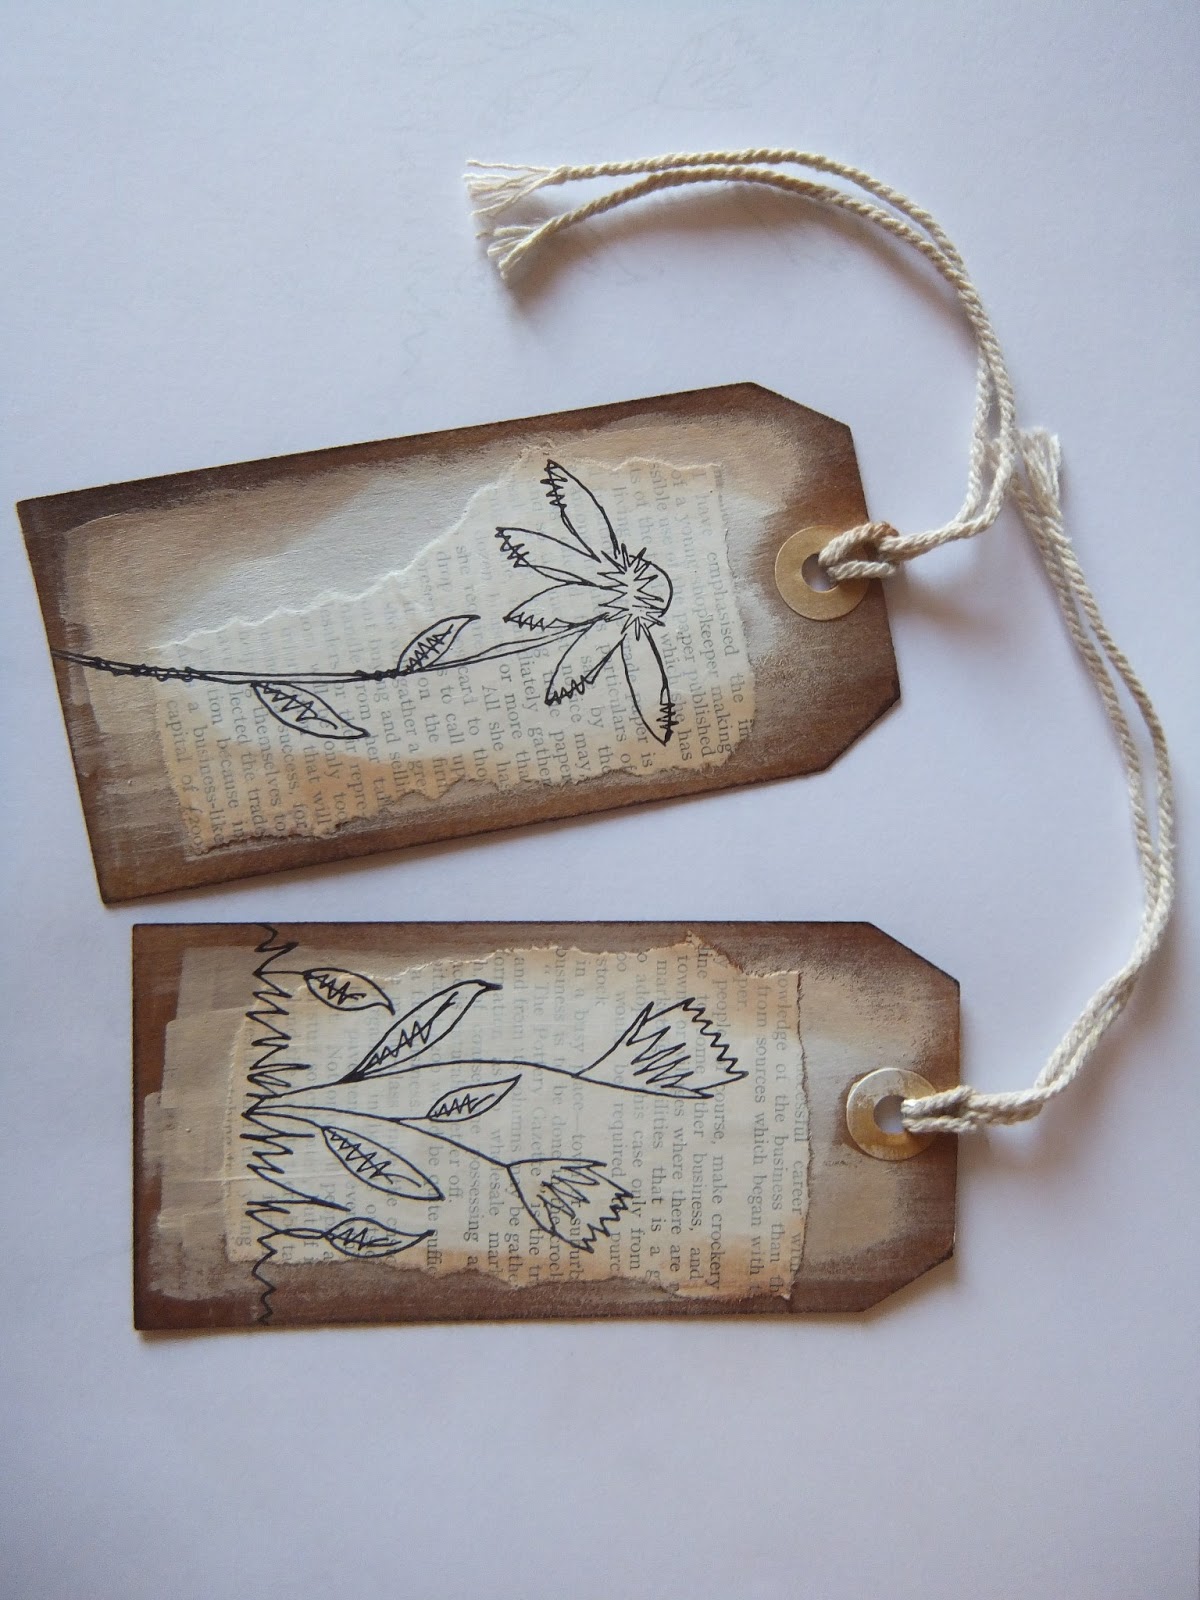
Inspired by Alison's lovely vintage tag project mentioned in my last post, here is  my Kraft tag, book pages and gesso project.


Two Kraft tags, stick on some pieces of torn book pages and paint roughly with gesso. The edges of the tags are distressed with vintage photo distress ink.


The daisies are from JOFY13 and stamped on the tag using black archival ink. The photo is rotated and I don't know why.


Colour the daisies with distress markers. I used mustard seed, wild honey, spiced marmalade and brushed corduroy. Tags complete. 


So, having made the tags, I had some of the book page left. To use it up I made the card using the same technique but on white cardstock and mounted on Kraft paper. This works better on Kraft card than on the white cardstock but I am pleased with the result. Love those JOFY daises, I think they are my current favourites.


Saturday, 15 June 2013

Tando Frames

Just a quick post for today's project which I started last weekend and finished off this afternoon.


This is a Tando Creative Hexagonal Frame painted with Fresco paint in sky blue and then on top was a layer of Kroma Crackle mixed with a tiny bit of poppy Fresco acrylic paint. I left the frame for 24 hours for the crackle effect to happen and I am impressed. Its great to use, you layer it on thickly and it finds its own level then when it dries it cracks nicely to show the blue in the background.
The flowers are from JOFY 11 (PaperArtsy) and painted with poppy, eggplant and hey pesto acrylic paint. 


Sunday, 2 June 2013

Craft Barn Extravaganza

What an excellent weekend. I went to the Craft Barn Extravaganza yesterday and already knew I was going to treat myself to some new stamps as the new series of JOFY stamps from PaperArtsy were being launched this weekend. The demonstrators were mainly using PaperArsty products but thats OK by me, I love them.
We had a good chat with Karen Gist about the new Tando Creative products including a lovely fan that she was using for her demo. I got one and have been playing with it this afternoon but its still work in progress. Of course my favourite things at the moment are the JOFY stamps by Jo Firth-Young so I treated myself to two new minis and a large plate. I've been playing with those this afternoon as well. I think I have 5 projects on the go at the moment but here is a simple birthday card that I have completed using JM21 and text from one of my other plates..


The fuschias are coloured with Derwent Inktense pencils and then blended using water and a paintbrush and then mounted on a fuschia pink square card. I love these images, they are quirky and so much fun to work with.

Here are my photos of a couple of the demonstrators' displays: 
Jo Firth-Young
Kay Carley


Its really interesting seeing the other demonstrators' different styles using the same stamps. Perhaps one day I will get a style but for now I like experimenting, sometimes clean and simple, sometimes inky and messy and sometimes I don't know what but whatever it is I am doing I'm loving it and having loads of fun.

Hope you all had a great weekend.
Julia x

Sunday, 26 May 2013

Watercolour Paper

The free stamp on the Craft Stamper magazine this month is a JOFY design from PaperArtsy and its a lovely one. I tried it out stamping on watercolour paper and then used distress markers to colour it, nice result on the watercolour paper.
I am entering this one in the new Twinchie blog challenge where the theme is "Free for All" although Zoe from the design team already used the same image, mine uses the technique from the magazine and I wanted to try using the distress on watercolour paper.  I really love this little stamp and I can see I am going to use it a lot. 

What a lovely bank holiday weekend its been so far, what a difference a bit of sunshine makes. Hope you are enjoying your Sunday wherever you are. 

Sunday, 31 March 2013

Happy Easter

Good Morning and a happy Easter to all.
Today it is officially British summertime and since the clocks have gone forward I guess I should have said Good Afternoon.
I am off to visit friends this afternoon so I made a card to take with me. The Less is More Challenge this week is to use scallops so I will enter my card for the challenge.


Stamps used : Jofy09 and Jofy11
Flowers coloured with Promarkers
Scallop border punch - Martha Stewart
Background polka dot paper from stash and mounted on Kraft card

Have a very Happy Easter and hope your day is lovely too wherever you are,
Julia x

Saturday, 16 March 2013

More Flowers

I was chuffed to bits to win the February challenge on the Show us your Twinchies blog, now I get to proudly display a winners badge. I really enjoy the twinchie challenges because the design team show such a variety of examples for each theme and the entries by others are so creative. There is plenty of time to think about the themes and to produce the artwork as well which is great if you are at work all week and have limited time. Go check it out, these twinchies are addictive and fun.

So, on to the March theme where Challenge 3 is 'Flower or Flowers'.
I seem incapable of using anything other than JOFY stamps recently, I love them so here is another one using  parts of the stamp set JOFY 11 and JOFY 9.


The 2 inch square background is kraft card that has been embossed, a scrap from a previous project. For the background I used randomly sponged distress inks and stamped the flowers and word in black archival ink. I used Inktense pencils to colour the flowers and painted over them with water to intensify the colours. Simple but bright and happy which was the effect I was after.


Flowers and Frames

The theme for week 111 at Less is More is "Frame it".
Here is my entry for this week's challenge :


The recipe:
Distress inks for the background - iced spruce and broken china, then spritzed with water.
PaperArtsy JOFY stamp JM11 stamped using black archival ink.
The leaves and buds were painted with bleach to remove the colour.
The frame was inked lightly with broken china distress ink and mounted with foam pads. This was not a die, it took an age fiddling to cut the aperture from a die cut topper I found in my stash.

I recommend using Ranger Manila cardstock for the distress ink and bleach technique. I tried the first version on white cardstock but the colours did not blend so well - in the bin!

Happy Saturday, hope you are having fun wherever you are. x 

Sunday, 24 February 2013

JOFY Stamps

Are we ever going to see some sunshine? Its a grey, cold February Sunday and I reckon if its winter outside then inside there can be Spring. So, today's project was to experiment with my JOFY stamps and try out something a little different .... painting with Fresco Finish acrylic paints, I am starting a collection!
I watched the YouTube video from PaperArtsy this morning with a tutorial on using the opaque and translucent paints so the inspiration for my project came from there.
I used the JOFY09 set of stamps for the images and the butterfly is from one of the new sets, JOFY11.
Here it is:

The thermometer is a wood substrate. First I painted it in Nougat which is an opaque paint and gives a good neutral coverage to the bare wood for adding more layers of paint. Then I used a couple of the translucents for the background, Beach Hut and Hey Pesto. This gives a nice shabby distressed look.
I then stamped the flowers and words in black archival ink and heat set it with a heat gun, just to be sure and because I was eager to get on with this project.
The flowers, leaf and grasses are then painted with watered down layers of paint. I used Pumpkin Soup, Hey Pesto, Hyde Park, Beach Hut and Inky Pool.
I was happy with the result but there was something missing so I stamped the butterfly, stood back, looked at it .....oh no! The butterfly was upside down!! All was not lost because Leandra says in the video that opaque paints really are opaque and will cover up anything and its true. I started again with Nougat over the butterfly and once dry added more Beach Hut and it is fixed. Stamped the butterfly the correct way up, painted it and there you go, finished project.

I also wanted to try out a card, inspiration from a fabulous tag by Linda Cain, thank you Linda.
Distress inks used for the background and drops of water to get a faux batik effect. The flowers are again from JOFY09 .... ah, I have got so much use out of that set .... and coloured with distress markers. It was Linda's idea of using the white pen that I wanted to try but I only had a Sakura Souffle pen in white so I had a go and this is the result. I must add a decent white pen to my shopping list.


Finally for today, another card, this time using two of the new JOFY Minis. Images stamped in black archival ink on white card, mask off the panel so that the background remains white and add distress ink to the background. I coloured the leaf using walnut stain distress marker and the buds in the same. This is then mounted on Kraft card.