There are some great examples from the Lavinia Stamps design team for the Challenge 1 this month. Take a look here for some inspiration.
Here is my entry for the challenge, using only Lavinia Stamps.
Lavinia Stamps used :
Spring Trees, Horse and foal, Creeping Vine.
I began with a Scene-Scapes card no. 013 for the background and stamped the spring trees using distress embossing ink and embossed them with Cosmic Shimmer embossing powder (Denim Lilac Aurora). The horses are stamped with black Versafine ink and the vine leaves stamped randomly using milled lavender distress ink. I added some 'ground' for the trees and horses to stand on with a victorian velvet distress marker.
A simple card to make.
Wednesday, 7 January 2015
Saturday, 3 January 2015
Recycling Christmas
My first blog challenge contribution for 2015 is a card made from a set of six inchies cut from one of my Christmas cards.
I wanted to arrange them so that the images were random but the layout needed some symmetry as six is a difficult number to arrange, especially as they are squares. I stamped some swirls for the background and edged them with a black pen then added some green gems and bakers twine to finish it off.
I am entering this card in the Artful Times challenge where we are to make 6 inchies out of received Christmas cards.
Happy New Year and wishing you all successful crafting in 2015.
I wanted to arrange them so that the images were random but the layout needed some symmetry as six is a difficult number to arrange, especially as they are squares. I stamped some swirls for the background and edged them with a black pen then added some green gems and bakers twine to finish it off.
I am entering this card in the Artful Times challenge where we are to make 6 inchies out of received Christmas cards.
Happy New Year and wishing you all successful crafting in 2015.
Monday, 1 December 2014
Oyster Stamps Craft Retreat Weekend
I have returned from a weekend away at the Oyster Stamps Craft Retreat. Two days of workshops at The Hellidon Lakes Hotel in Daventry with excellent projects demos and advice from Martine, Hellen and Eileen. I have completed most of my projects, feeling pleased with myself for having done that!
The workshop with Hellen Pearce taught us colouring techniques and stamping. Details of the products used and Hellen's examples can be found on her blog : elliescupboard.blogspot.co.uk
Key point from this workshop that I have taken away with me, other than the Promarker colouring technique, is to not always use the whole stamp on a project. Partial images look good in these panel layouts. I chose the traditional red and green colours for my project but of course you could use anything.
I really should put a present in that bag and give it to somebody but .... I think I will keep it :)
This is the project from Eileen's second workshop. Stencils and stamped images are Designs by Ryn again. Aren't those bubbles delicious.
Ryn stamps are available from the Oyster Stamps shop : http://www.oysterstamps.co.uk/
Martine's workshops included lots of die cutting and beautiful flowers. The first project was a box with a matching card. I didn't complete this one but here is a picture of the card. That poinsettia is die cut using a Frantic Stamper die. For more of Martine's lovely white on white artwork and flowers go visit her blog : http://abfabdesigns.blogspot.co.uk/
The workshop with Hellen Pearce taught us colouring techniques and stamping. Details of the products used and Hellen's examples can be found on her blog : elliescupboard.blogspot.co.uk
Key point from this workshop that I have taken away with me, other than the Promarker colouring technique, is to not always use the whole stamp on a project. Partial images look good in these panel layouts. I chose the traditional red and green colours for my project but of course you could use anything.
I really should put a present in that bag and give it to somebody but .... I think I will keep it :)
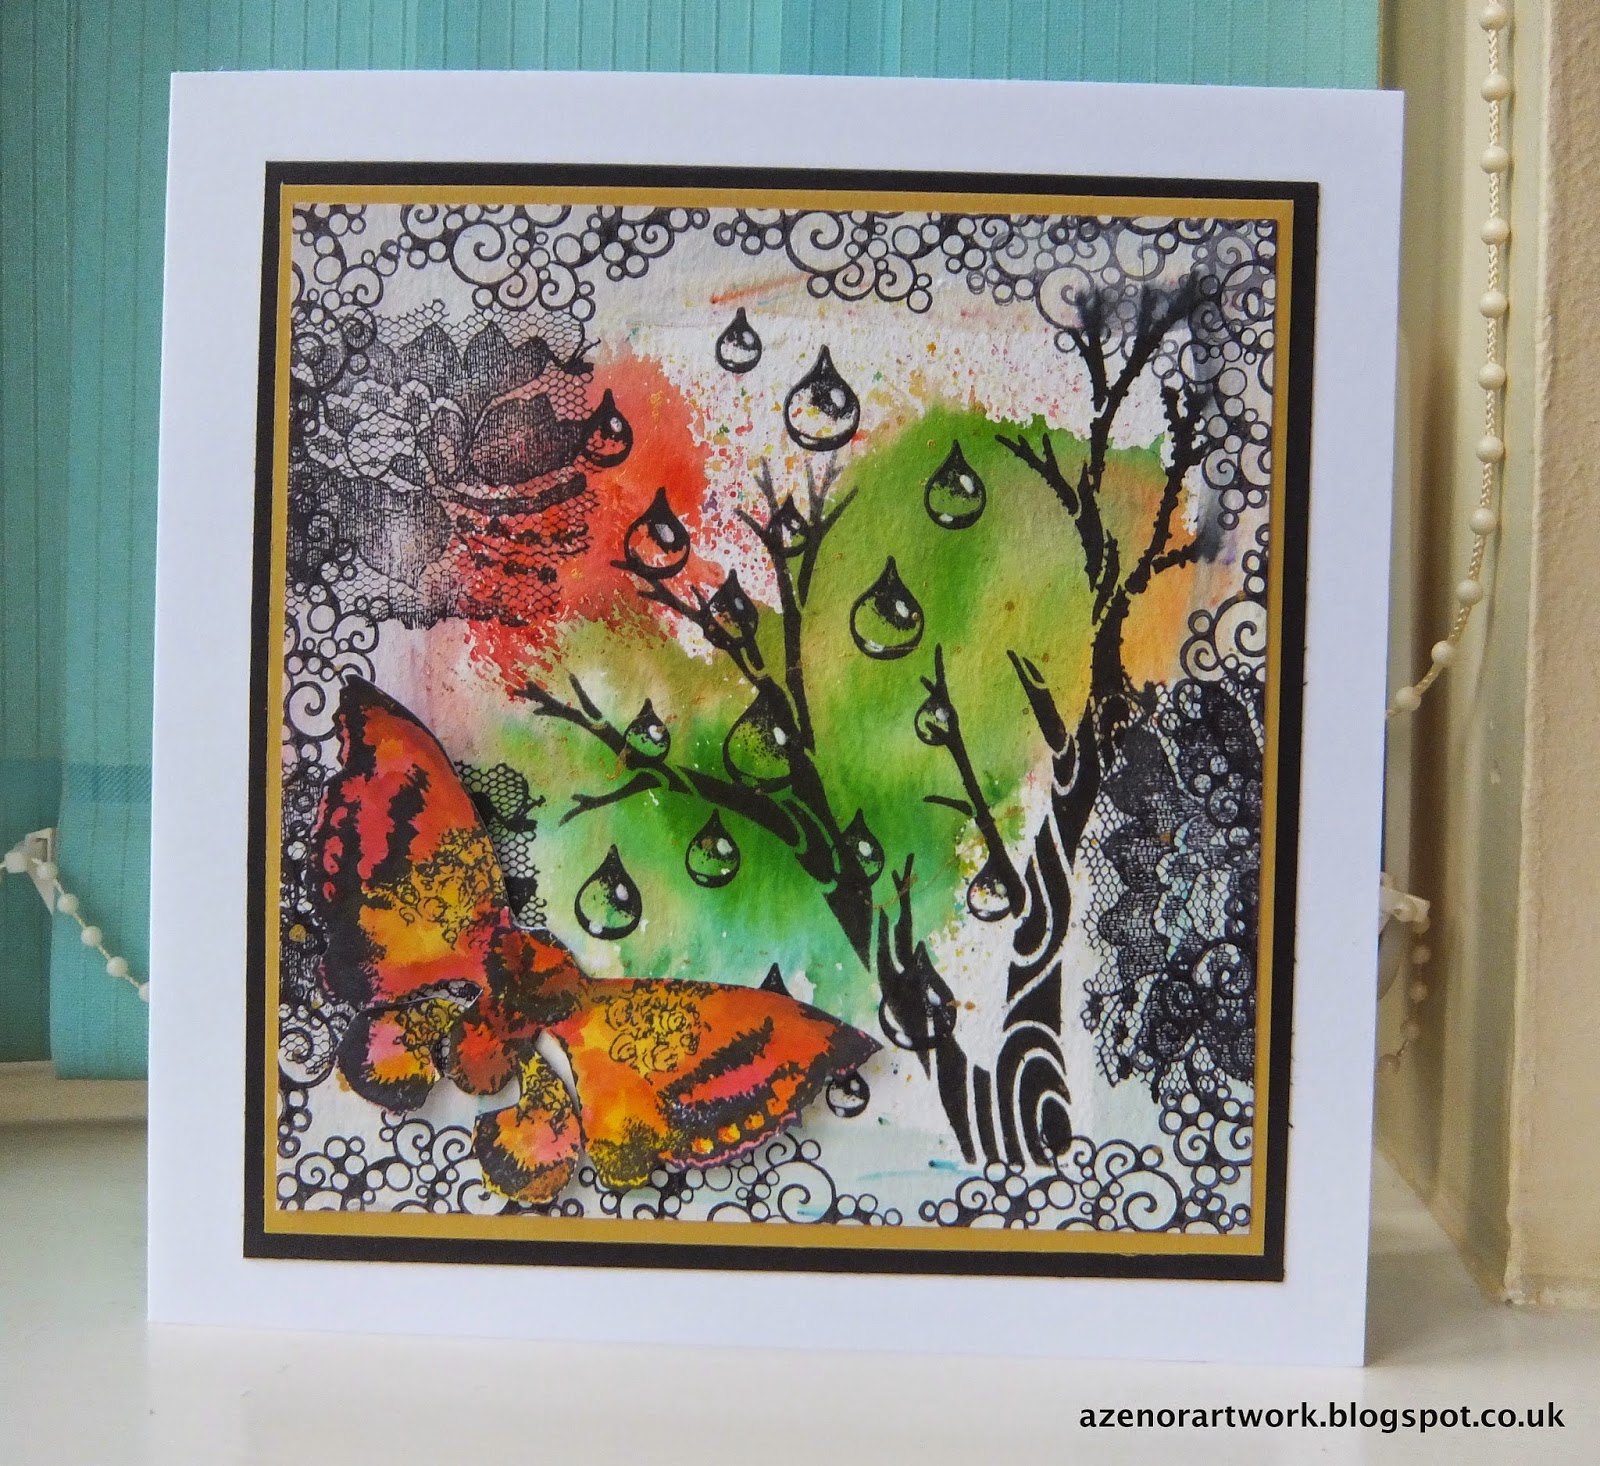
The workshops with Eileen Godwin were fabulous, I got to play with those lovely Designs by Ryn stamps and the new Brusho paints (yes, of course I bought some). Totally in my comfort zone with this as we played with the paint and distress ink. Lots of layering in the first example below. The tree branches are a stencil from Ryn as well as the stamped images including the famous water droplets.
Eileen work can be found on her blog : http://eileenscraftyzone.blogspot.co.uk/
There will be You Tube videos for Brusho techniques posted early December so look out for those.
This is the project from Eileen's second workshop. Stencils and stamped images are Designs by Ryn again. Aren't those bubbles delicious.
Ryn stamps are available from the Oyster Stamps shop : http://www.oysterstamps.co.uk/
Martine's workshops included lots of die cutting and beautiful flowers. The first project was a box with a matching card. I didn't complete this one but here is a picture of the card. That poinsettia is die cut using a Frantic Stamper die. For more of Martine's lovely white on white artwork and flowers go visit her blog : http://abfabdesigns.blogspot.co.uk/
Martine's second workshop had us making a flower from black (or red) card stock and altered with pan pastels and treasure gold. I love the metallic effect of the gold on black.
.... and a close up of the flower.
A big Thank You to the Oyster Team for a superb craft retreat.
I have met new friends and learned new things. All in all, a very excellent weekend.
Saturday, 22 November 2014
TH Christmas Cards
Yesterday was a good day, a very good day .... a friend at work has recovered all my photos and documents from my broken hard disk and I am so grateful. Happy days.
Here is another Christmas card make using the lovely Tim Holtz Toy Soldier die.
The toy soldier parts are cut from scraps of red, black and white cardstock and edged with black dye ink. The background paper is from My Minds Eye Lost and Found Christmas paper pad, the edges distressed with vintage photo ink and scruffed using scissors then mounted on red card. Merry Christmas text peel-off sticker in white.
I am building up my stock of Christmas cards ... slowly ....
Did I post my half-tone snowman? I don't think I did. Here he is:
Here is another Christmas card make using the lovely Tim Holtz Toy Soldier die.
The toy soldier parts are cut from scraps of red, black and white cardstock and edged with black dye ink. The background paper is from My Minds Eye Lost and Found Christmas paper pad, the edges distressed with vintage photo ink and scruffed using scissors then mounted on red card. Merry Christmas text peel-off sticker in white.
I am building up my stock of Christmas cards ... slowly ....
Did I post my half-tone snowman? I don't think I did. Here he is:
Thursday, 20 November 2014
Santa ... I've been so good
It's been a while. I have an excuse - the hard disk on my laptop died which did not leave me happy I can tell you. I was good, I backed up my hard disk quite regularly but, when the disk died, the external drive I was using for the backup got trashed too. Not happy, I have lost 2 years worth of my photographs and files. I highly recommend at least two methods of backup including cloud storage. At least my blog pictures are safe, that will teach me to blog more often!
So here is a quick blog update, my Santa Christmas card :
Woodware Large Word Stamp
Stamped onto Christmas paper from stash (Papermania I think from several years back).
Fussy cut the letters and glitter added to the hat.
More to come .......
So here is a quick blog update, my Santa Christmas card :
Woodware Large Word Stamp
Stamped onto Christmas paper from stash (Papermania I think from several years back).
Fussy cut the letters and glitter added to the hat.
More to come .......
Sunday, 19 October 2014
Blueprint Baubles
One TH Blueprint bauble stamp with two different results.
Stamped and embossed in white on Echo Park paper, Christmas Cheer by Lori Whitlock : Chalkboard.
Sentiment from JOFY 06 Christmas set.
Stamped and embossed in white on Echo Park paper, Christmas Cheer by Lori Whitlock : Chalkboard.
Sentiment from JOFY 06 Christmas set.
The blueprint bauble was stamped onto Ranger cream cardstock and TH Distress ink (Antique Linen and Vintage Photo) added with a duster brush. I stamped the bauble again onto an old book page and a piece of striped paper, cut them out and added them.
Two relatively simple cards and quite different don't you think.
Saturday, 11 October 2014
Christmas Red, Green and White
Last weekend I visited the Craft Barn for their monthly demo day and saw a really different set of Christmas cards that I just had to try out. The technique is pretty easy and very satisfying to do.
Take one piece of white card and cover it in distress inks. I chose picked raspberry and evergreen bough as they are Christmas colours. Where they overlap and blend it makes a nice purple shade. Spritz the background with water.
Then layer white paint on top through various sized circle stencils, layering them up and overlapping the circles until you achieve the look you want. I made my stencils using punches and a scrap of Kraft card. I also substituted the acrylic paint for ColorBox Mix'd Media ink which is more of a paint than an ink.
Take one piece of white card and cover it in distress inks. I chose picked raspberry and evergreen bough as they are Christmas colours. Where they overlap and blend it makes a nice purple shade. Spritz the background with water.
Then layer white paint on top through various sized circle stencils, layering them up and overlapping the circles until you achieve the look you want. I made my stencils using punches and a scrap of Kraft card. I also substituted the acrylic paint for ColorBox Mix'd Media ink which is more of a paint than an ink.
The finished panel is the one bottom right in the picture :
The panel on the left was the same technique but using distress stain instead of ink which I don't think works very well, it would take a lot of paint layering to knock those colours back. The small panel at the top of the photo is just left over ink spritzed with water and card smooched through it. This one was used to stamp the Merry Christmas sentiment (Kaisercraft Christmas Carol set).
This is the finished card with black dots added around the border:
Thanks go to the Craft Barn demonstrator for the inspiration.
Subscribe to:
Posts (Atom)