Sunday, 19 October 2014

Blueprint Baubles

One TH Blueprint bauble stamp with two different results.


Stamped and embossed in white on Echo Park paper, Christmas Cheer by Lori Whitlock : Chalkboard.
Sentiment from JOFY 06 Christmas set.


The blueprint bauble was stamped onto Ranger cream cardstock and TH Distress ink (Antique Linen and Vintage Photo) added with a duster brush. I stamped the bauble again onto an old book page and a piece of striped paper, cut them out and added them.

Two relatively simple cards and quite different don't you think.


Saturday, 11 October 2014

Christmas Red, Green and White

Last weekend I visited the Craft Barn for their monthly demo day and saw a really different set of Christmas cards that I just had to try out. The technique is pretty easy and very satisfying to do.

Take one piece of white card and cover it in distress inks. I chose picked raspberry and evergreen bough as they are Christmas colours. Where they overlap and blend it makes a nice purple shade. Spritz the background with water.
Then layer white paint on top through various sized circle stencils, layering them up and overlapping the circles until you achieve the look you want. I made my stencils using punches and a scrap of Kraft card. I also substituted the acrylic paint for ColorBox Mix'd Media ink which is more of a paint than an ink.


The finished panel is the one bottom right in the picture :


The panel on the left was the same technique but using distress stain instead of ink which I don't think works very well, it would take a lot of paint layering to knock those colours back. The small panel at the top of the photo is just left over ink spritzed with water and card smooched through it. This one was used to stamp the Merry Christmas sentiment (Kaisercraft Christmas Carol set).

This is the finished card with black dots added around the border:


Thanks go to the Craft Barn demonstrator for the inspiration.


Thursday, 25 September 2014

Mini Seed Book

I missed the deadline for the Artful Times Challenge this fortnight as I was away but will post my mini-book anyway.
The challenge was to make a book that measures no more than 3 inches by 2 inches. When I was away visiting my Mum she gave me some seeds from her wallflower plant so that gave me the idea to make a seed book.


The book was made from Kraft card, one piece of card measuring 6 " by 2 " scored and folded. Then decorated with Papermania gardening paper with Chitchat stickers and buttons added to the front.


Inside the book I made a mini envelope from vellum for the seeds. The book pages are just folded white copy paper sewn into the fold with bakers twine.
I might carry this one around in my bag just in case I find seeds and I can make notes of where I found them and what they are.


Sunday, 7 September 2014

Mini Bird House

My contribution for the Artful Times Challenge 63 is a literal translation this time. The theme is to use a house shape so I have painted a mini birdhouse and decorated it.


The house was made of wood so I painted it with white gesso and then painted the walls with yellow acrylic paint, Banana Custard from Indigo Blu. It is a banana yellow, a great name don't you think.
The roof was covered in Flitter Glu and some Yorkshire Dales mega flakes applied, I'm pleased with the roof, the colours of Yorkshire Dales flakes are just stunning. Its a shame I've used them all up now, I might have to invest in another pot.
I die cut the tiny bird from some Kraft Core card in brown and stuck him on the front of the house. Then I added leaf ribbon and some paper flowers and gems from my stash.
The house is only 2 1/2 inches from the base to the apex of the roof, it is tiny.
I hope you like it as much as I enjoyed making it.


Sunday, 31 August 2014

I do like to be beside the seaside.

A quick post from me today, my entry in this week's Less is More challenge for week 187 where there is a song theme : "I do like to be beside the seaside".


Clear stamp from Acid Drops and Whatnots.
Image coloured with Promarker pen : poppy.
Panel matted on centura pearl black card and all mounted on a white deckle edge card.


Saturday, 23 August 2014

Artful Times Challenge 62 - Sewing

The first set of Tim Holtz stamps that I ever purchased was Haberdashery so it was nice to revisit that set for the Artful Times challenge this fortnight. I decided to make a tag for my entry. Everything used on the tag with the exception of the word Couture uses Tim Holtz Ranger products. The word stamp was a silicon clear stamp, see the difference in sharpness when using exactly the same dye ink. I have to say, the red rubber is far far superior.


The background was made using distress stains : squeezed lemonade, pumice stone and antique linen, spritzed with water and dried with a heat gun. I then edged the tag with vintage photo distress ink.
Using pumice stone DI, I used the "Measured" stencil and then stamped the images in black archival ink and Red Pepper Adirondack dye ink.
The Tim Holtz Sizzix On the Edge die : Sewing was used to cut the embellishment for the bottom of the tag. This was coloured with distress stains and distress ink and glossy accents added to the scissors. I added three red buttons to finish off and the stitched ribbon.

Not wanting to waste any of the stain and ink I had left on my craft mat, I made a matching ATC.


This was fun.
Have a great bank holiday weekend wherever you are.

Sunday, 10 August 2014

Playing with Stencils

Today I did some experiments with my JOFY flower stencil. Ink, paint and doodling, lots of fun. They all ended up on cards which is handy as I have a few birthday cards to send this month.


This one is stencilled with PaperArtsy Fresco Finish paints. The base flower is mermaid and the then I added Beach Hut over the top. Beach Hut is a translucent paint so the effect is quite interesting. There is a doodle flower on one of the new JOFY stamp sets that fits over the stencil flower but I don't have that set so I drew the doodle flower and added a few highlights in Haystack paint. Mounted on Kraft card with Happy Birthday sentiment.

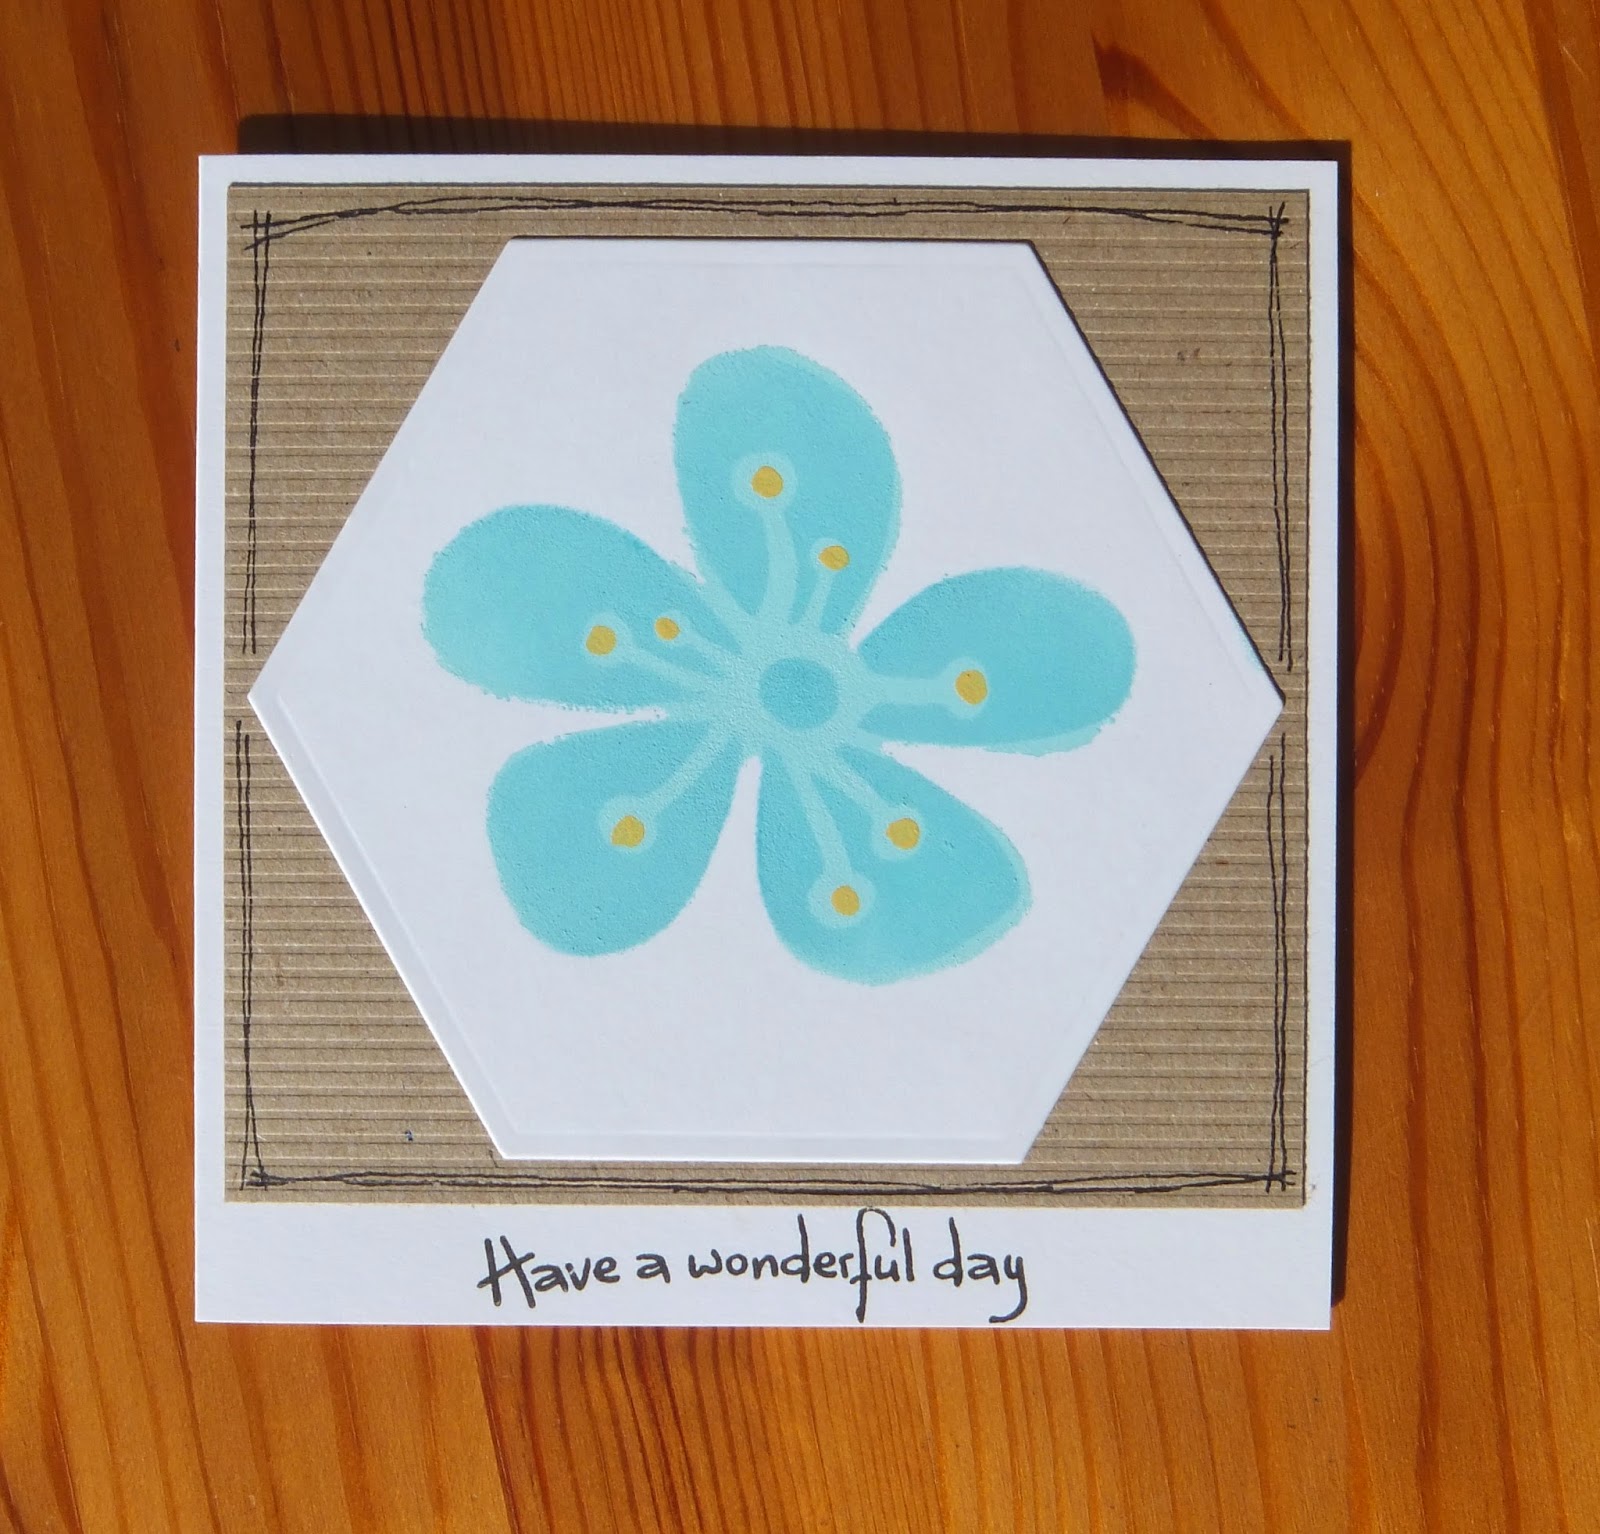
The second card is the same base flower in Mermaid paint but I wondered what would happen if I added distress ink on top.


Peacock feathers distress ink on the flower overlay and highlights of Haystack paint. This one was supposed to have been a one layer card but I made a bit of a mess. I salvaged it with a Spellbinder hexagon die, mounted it on ribbed Kraft card and I think it works.

So, what does it look like using ink instead of paint?


This one has Tumbled Glass DI applied to the base flower and Peacock Feathers DI for the flower laid over the top. The image is crisper. I liked the blobs of Haystack paint added before so did the same with this one. The sentiment is coloured with Promarker pens to match the flower and the panel mounted onto a Kraft card.

This is a nice stencil. There are 4 flowers, a base flower and 3 that can overlay it to build up layers. 
PaperArtsy stencil PS009.
Go see the designer's samples at Jo Firth-Young's blog.